Subtotal: £1.34
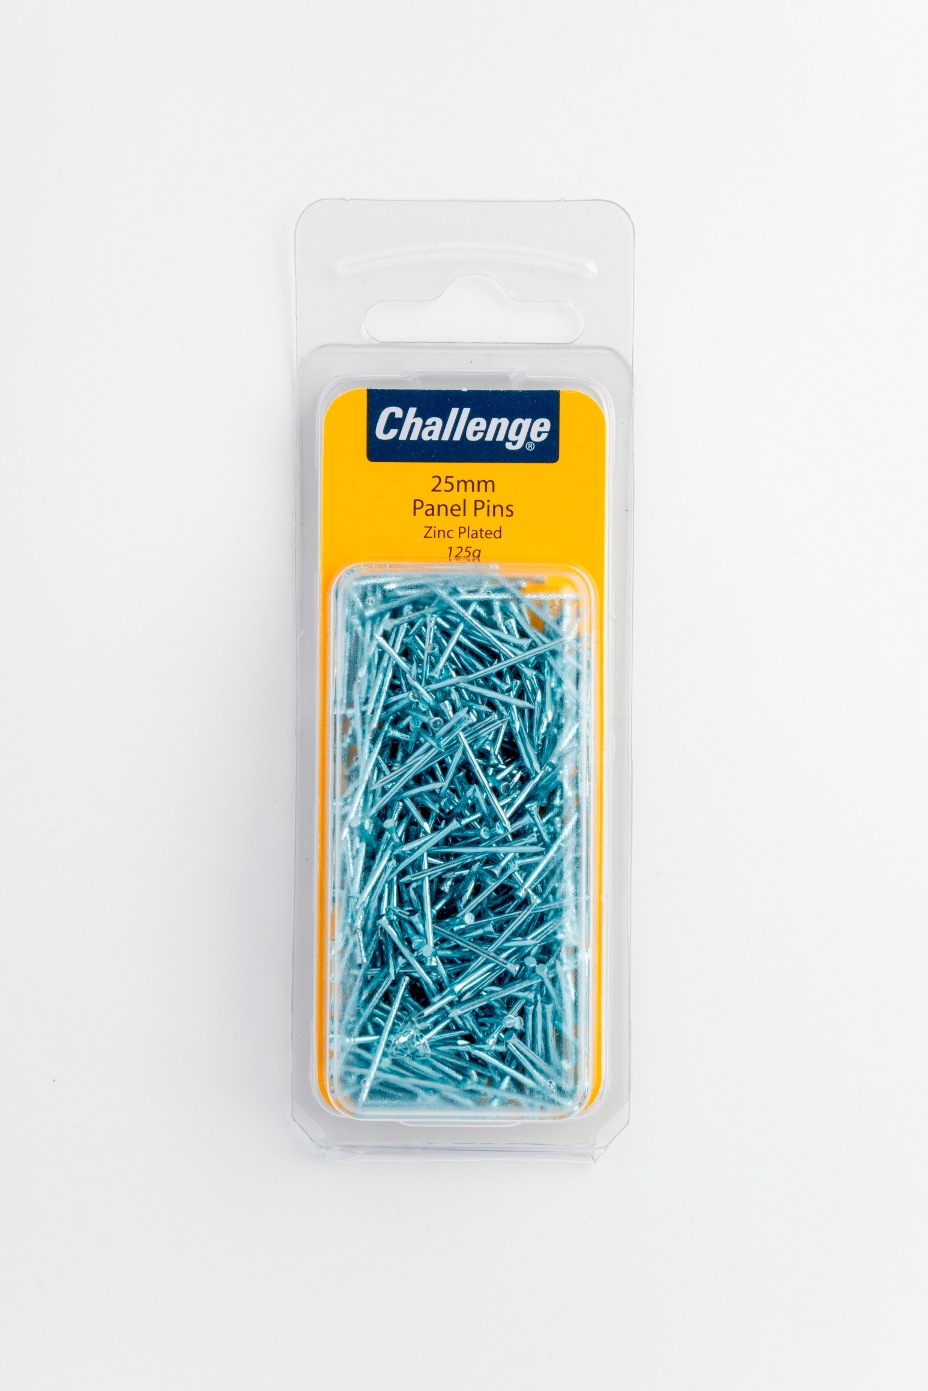
Zinc-Plated Challenge Panel Pins, 25mm, 100g
How to Use Challenge Zinc Plated Panel Pins 25mm 100g
Introduction
Challenge Zinc Plated Panel Pins are small, thin nails used in various woodworking and craft projects. They are ideal for attaching lightweight moldings, panels, and trim. Below are the steps for beginners on how to effectively use these panel pins.
Materials Needed
- Challenge Zinc Plated Panel Pins 25mm 100g
- Hammer
- Panel or molding to be attached
- Protective eyewear
- Work gloves (optional)
- Measuring tape or ruler
- Pencil
Step-by-Step Instructions
1. Prepare Your Workspace
- Ensure you have a clean, flat surface to work on.
- Make sure the area is well-lit.
- Wear protective eyewear to prevent injury.
2. Measure and Mark
- Use a measuring tape or ruler to determine where the panel pins will be placed.
- Mark the spots lightly with a pencil for precise placement.
3. Position the Panel or Molding
- Align the panel or molding with the marked spots.
- Hold it firmly in place or use clamps if needed.
4. Insert the Panel Pin
- Take a panel pin and position the pointed end on the marked spot.
- Hold the pin upright and steady.
5. Hammer the Panel Pin
- Gently tap the pin with the hammer to start driving it into the material.
- Continue hammering until the pin is flush with the surface. Be careful not to bend the pin.
6. Repeat as Necessary
- Repeat the process for all marked spots until the panel or molding is securely attached.
Safety Tips
- Always wear protective eyewear when hammering.
- Use work gloves if you are concerned about pinching or blistering.
- Keep hands clear of the hammer’s path to avoid injury.
Conclusion
By following these simple steps, beginners can effectively use Challenge Zinc Plated Panel Pins in their projects. With patience and practice, you’ll achieve a secure and professional finish.
Loading...









Reviews
There are no reviews yet.