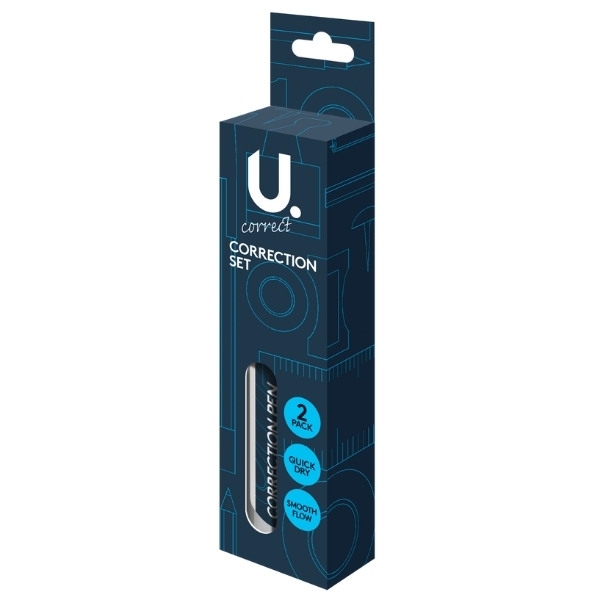
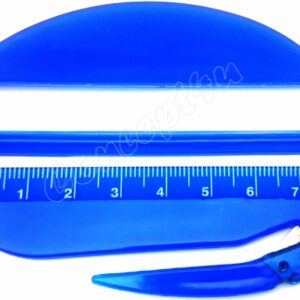
U. CORRECT CORRECTION FLUID PEN PACK OF 2
£0.76
Sold by: Good Office SuppliesLast updated on February 4, 2025 6:20 am Details
Compare
Report Abuse

Description
How to Use the U. Correct Correction Fluid Pen Set
Step 1: Prepare Your Workspace
- Find a flat, stable surface to work on.
- Ensure that the area is well-lit to see the errors clearly.
- Have a piece of scrap paper ready to test the correction pen before applying it to your document.
Step 2: Shake the Correction Pen
- Hold the correction pen firmly.
- Shake it well to mix the fluid inside thoroughly.
- Listen for the sound of the mixing ball inside to ensure proper mixing.
Step 3: Test the Pen
- Remove the cap carefully.
- Press the tip of the pen onto the scrap paper to start the flow of fluid.
- Make sure the fluid is coming out evenly and smoothly.
Step 4: Apply Correction Fluid
- Position the tip of the pen over the text you want to correct.
- Press lightly and move the pen smoothly across the area to cover the error.
- Use even strokes to ensure consistent coverage.
Step 5: Allow to Dry
- Let the correction fluid dry completely before writing over it.
- The drying time may vary depending on the amount of fluid applied.
- Test by gently touching the area to confirm it’s dry.
Step 6: Recap the Pen
- Place the cap back on the pen to prevent the tip from drying out.
- Store the pen in a cool, dry place when not in use.
Additional Tips
- Use the correction fluid sparingly to avoid lumps and uneven surfaces.
- If the pen tip becomes clogged, gently wipe it with a clean tissue.
- Avoid shaking the pen too vigorously to prevent spills.


Lucy (verified owner) –
I love the products I purchased! The wholesaler is reliable, and I always get my orders in perfect condition and on time.
Pariseema (verified owner) –
This wholesaler has never let me down. The products I receive are always of the highest quality, and delivery is always on time.