Subtotal: £1.42
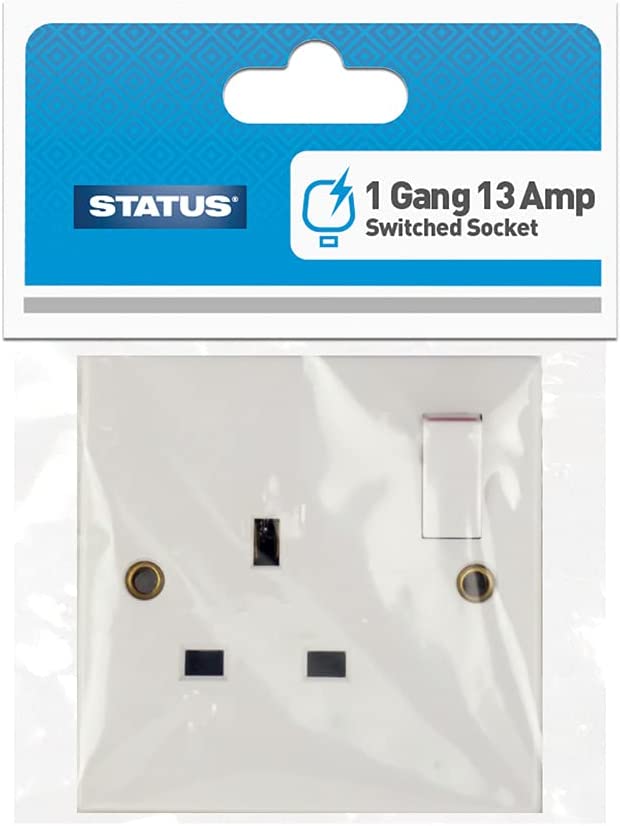
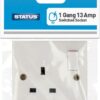
STATUS 13A SINGLE / 1-GANG SWITCHED WALL OUTLET
How to Use the STATUS 13A Single / 1 Gang Switch Wall Socket
1. Safety Precautions
- Ensure the power supply is turned off at the mains before installation.
- Always follow electrical safety guidelines when handling electrical components.
- If unsure, consult a qualified electrician for installation.
2. Tools Required
- Screwdriver
- Voltage tester
- Wire strippers
3. Installation Steps
- Remove the Existing Socket:
- Use a screwdriver to remove the screws on the existing socket.
- Gently pull the socket away from the wall to expose the wiring.
- Prepare the Wires:
- Use a voltage tester to ensure no current is flowing through the wires.
- If needed, use wire strippers to expose the copper ends of the wires.
- Connect the New Socket:
- Connect the live (brown) wire to the terminal marked “L”.
- Connect the neutral (blue) wire to the terminal marked “N”.
- Connect the earth (green/yellow) wire to the terminal marked with the earth symbol.
- Secure the Socket:
- Push the socket back into the wall box carefully.
- Use a screwdriver to secure the socket with screws.
- Test the Socket:
- Turn the power back on at the mains.
- Use a voltage tester to ensure the socket is functioning correctly.
4. Usage Tips
- Ensure the socket is not overloaded with too many devices.
- Regularly check for any signs of wear or damage.
- Keep the socket clean and free from dust accumulation.
5. Troubleshooting
- If the socket does not work, ensure all connections are secure and correct.
- If there are frequent issues, consult a qualified electrician for advice.
Loading...
Product Location
-
£1.46







Reviews
There are no reviews yet.