Subtotal: £1.25
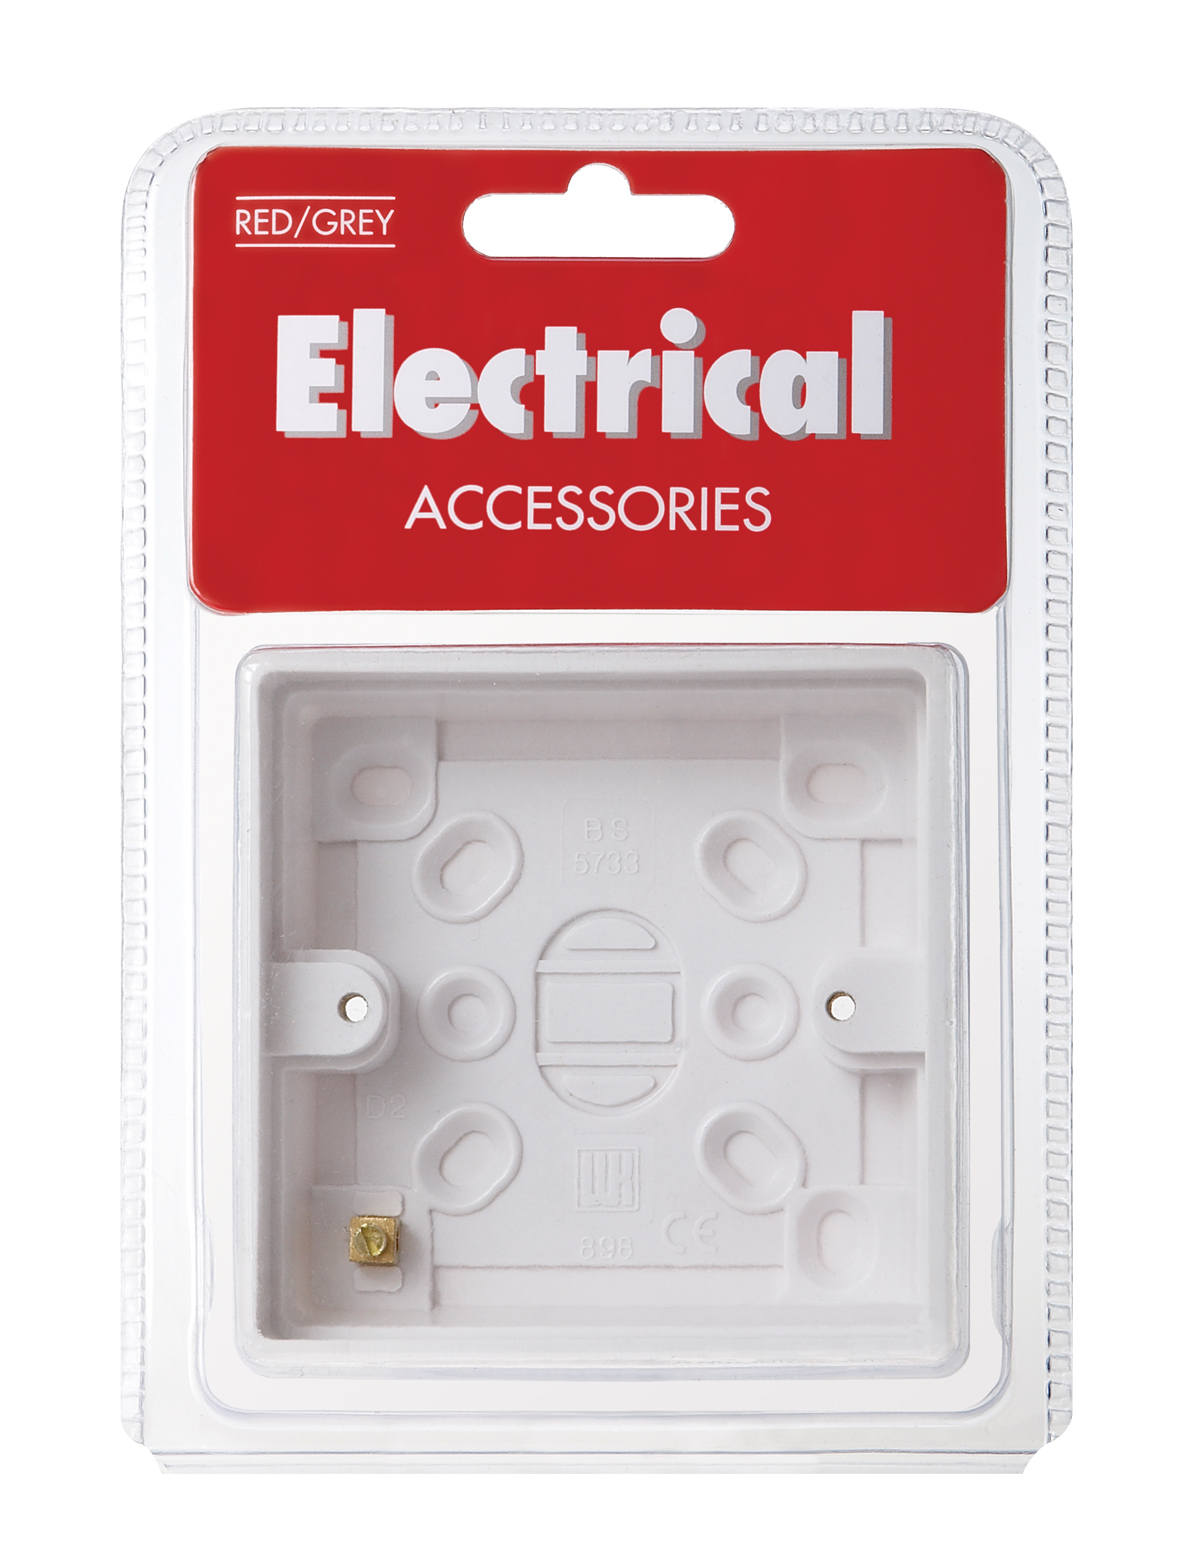
Red Grey B18P Single Gang 24mm Surface Mounted Back/Wall Pattress Box
How to Use the RED GREY B18P Single 1 Gang Surface Mounted Back / Wall Pattress Box 24mm
Introduction
This guide will provide you with step-by-step instructions on how to install and use the RED GREY B18P single 1 gang surface mounted back / wall pattress box.
Required Tools and Materials
- RED GREY B18P Pattress Box
- Screwdriver
- Drill (if necessary)
- Wall Plugs (if necessary)
- Level
- Measuring Tape
- Pencil
Installation Steps
1. Choose the Installation Location
- Identify a suitable location on the wall where you want to mount the pattress box.
- Ensure that the location is free from any electrical cables or pipes.
2. Mark the Position
- Use the measuring tape and pencil to mark the position on the wall where the pattress box will be installed.
- Ensure the markings are level using the level tool.
3. Drill Holes (if necessary)
- If the wall surface requires it, use the drill to create holes for the screws.
- Insert wall plugs into the drilled holes if the wall material is not solid wood.
4. Mount the Pattress Box
- Align the pattress box with the marked position on the wall.
- Secure the box to the wall using screws and a screwdriver.
5. Connect Wiring (if applicable)
- If you are installing an electrical fitting, carefully feed the electrical cables through the entry points of the pattress box.
- Ensure all electrical connections are done safely and securely.
Final Check
- Ensure the pattress box is securely mounted on the wall.
- Double-check all connections and fittings for safety.
Conclusion
Following the above instructions will help you successfully install and use the RED GREY B18P single 1 gang surface mounted back / wall pattress box. Always prioritize safety when working with electrical components.





by Ameira (verified owner)
I can always count on this wholesaler for the best products. They’re reliable, and their customer service is always friendly and helpful.
by Gazala (verified owner)
I’ve ordered a variety of products from this wholesaler, and I’ve been consistently impressed with the quality. Excellent service!
by Jack (verified owner)
I’ve ordered several times, and every time the experience has been smooth and satisfying. The product quality is always consistent, and delivery is on time.