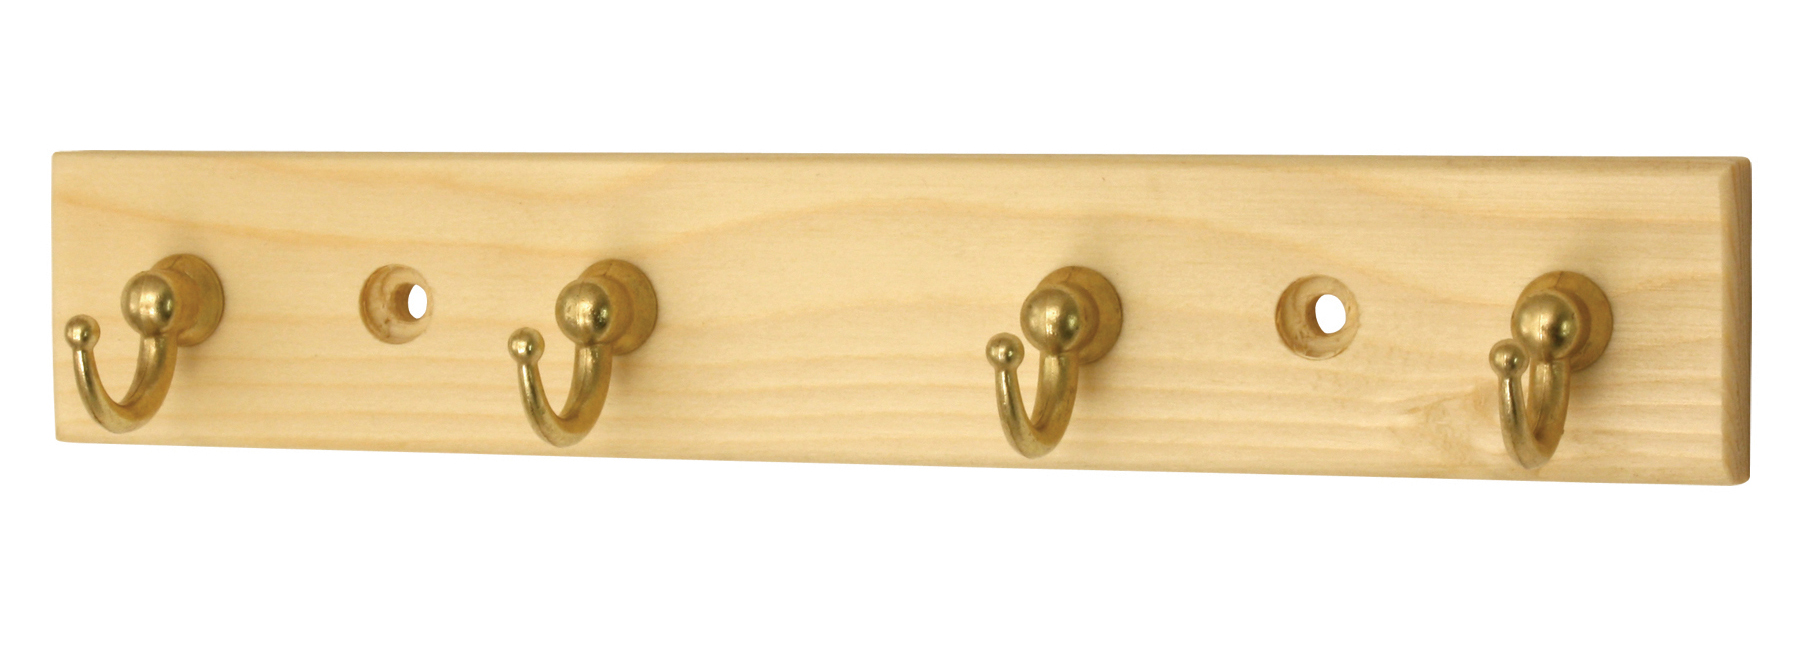
Headbourne Pine Wall-Mounted Cup Hook Rack with 4 Hooks
£1.86
Last updated on January 5, 2025 10:11 am Details
Compare
Report Abuse
Description
How to Use the Headbourne Wall Mounted Cup Hook Rack
Step-by-Step Guide for Beginners
1. Unboxing
- Carefully open the packaging to avoid damaging the hooks.
- Ensure all components are present: the rack with 4 hooks and mounting hardware.
2. Choosing the Location
- Select a wall area where you want to mount the rack.
- Ensure the wall surface is clean and dry.
- Consider the height and accessibility for easy use.
3. Marking the Mounting Points
- Position the rack against the wall where you plan to mount it.
- Use a pencil to mark the screw holes on the wall.
4. Drilling the Holes
- Use a suitable drill bit to make holes at the marked points.
- Ensure the holes are deep enough to securely hold the screws.
5. Mounting the Rack
- Align the rack with the drilled holes.
- Secure the rack to the wall using the provided screws.
- Tighten the screws until the rack is firmly in place.
6. Hanging Items
- Once the rack is securely mounted, hang cups or other items on the hooks.
- Ensure the items are evenly distributed to maintain balance.
7. Maintenance
- Periodically check the tightness of the screws.
- Wipe the rack with a damp cloth to keep it clean.
Congratulations! You have successfully installed and are now using your Headbourne Wall Mounted Cup Hook Rack.
2 reviews for Headbourne Pine Wall-Mounted Cup Hook Rack with 4 Hooks
Loading...
Product Location
-

13CM White Falcon Coffee Pot
£11.54 Add to basket Compare -
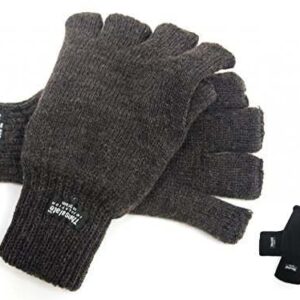
Men’s Fingerless Thermal Insulated Gloves, Assorted Sizes, Pack of 12
£30.79 Add to basket Compare -
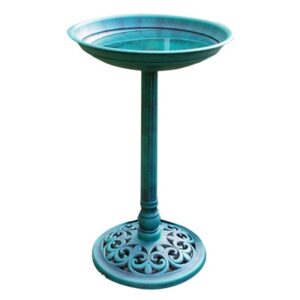
CLASSIC BIRD BATH
£9.67 Add to basket Compare -

Iridescent Foil Balloon Weight by Unique Party
£0.61 Add to basket Compare -
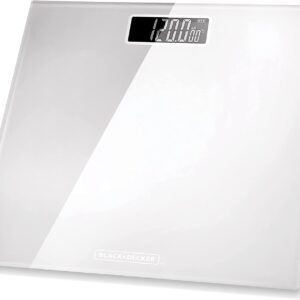
BLACK+DECKER Digital Bathroom Scale BXBS0001GB – White
£6.59 Add to basket Compare -

77CM Assorted Color Plastic Shoe Horn
£0.83 Add to basket Compare
Related products
-

Draper Expert 38606 0.5mm High-Speed Steel Drill Bit
£0.36 Add to basket Compare -
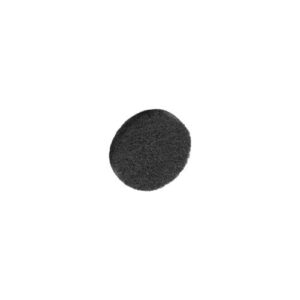
SECURIT S5400 13MM X 3MM ROUND FELT PADS, PACK OF 24
£0.28 Add to basket Compare -

STATUS 20W 12V G4 B-RATED CAPSULE LIGHT BULB
£0.46 Add to basket Compare -
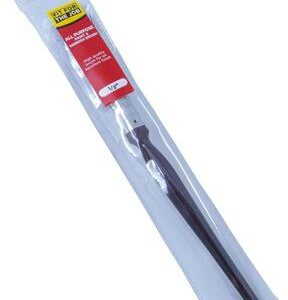
ALL-PURPOSE PAINT BRUSH, 0.5 INCH / 13MM – FIT FOR THE JOB
£0.43 Add to basket Compare


Wahib (verified owner) –
I am absolutely thrilled with the product I ordered! The quality is top-notch, and it arrived so quickly. The wholesaler’s customer service was exceptional too!
Dabir (verified owner) –
I’ve had multiple orders from this wholesaler, and each time, I’ve been impressed. The products are high-quality, and their customer service is excellent.