- Sorry, you can't add more than one vendor's product in the cart.

Convenient Home LED Push Lights, Pack of 2
£1.20
Last updated on January 5, 2025 6:47 am Details
Compare
Report Abuse
Description
How to Use HANDY HOME LED PUSH LIGHTS
Step 1: Unpack the Product
- Carefully remove the LED push lights from the packaging.
- Ensure that all components are included and not damaged.
Step 2: Insert Batteries
- Locate the battery compartment on the back of each push light.
- Open the battery compartment by twisting or sliding the cover as indicated.
- Insert the required number of batteries, ensuring correct polarity (+/-).
- Close the battery compartment securely.
Step 3: Choose the Location
- Select a location where you need additional lighting, such as a closet, cabinet, or hallway.
- Ensure the surface is clean and dry for optimal adhesion.
Step 4: Mount the Push Light
- Peel the backing off the adhesive pad on the back of the light.
- Press the light firmly onto the desired surface.
- Hold for a few seconds to ensure it sticks properly.
Step 5: Activate the Light
- Simply press the center of the light to turn it on.
- Press again to turn the light off.
Step 6: Maintenance and Battery Replacement
- Periodically check the brightness of the light; dimming may indicate the need for new batteries.
- Follow Step 2 to replace the batteries as needed.
Enjoy the convenience and versatility of your HANDY HOME LED Push Lights!
2 reviews for Convenient Home LED Push Lights, Pack of 2
Loading...
Product Location
-
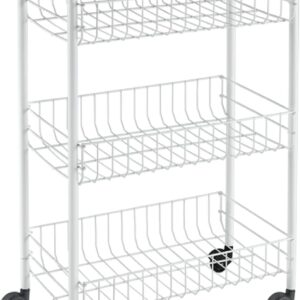
Metaltex Sprinter 3-Tier White Basket Cart 41x61x23cm
£10.44 Add to basket Compare -
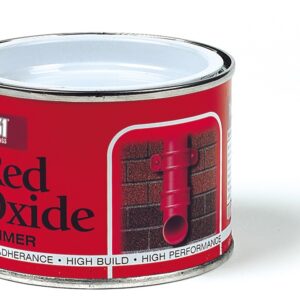
151 Paint Varnish Coating Tin in Matte Black, 180ml
£1.64 Add to basket Compare -

RENTOKIL MOUSE ELIMINATION GRAIN BAIT, PACK OF 5 SACHETS
£3.47 Add to basket Compare -
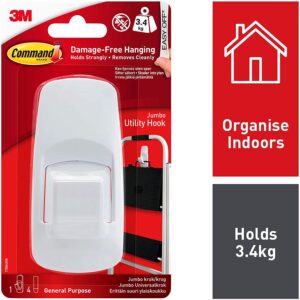
White Jumbo Hook with Strips – Command 17004, Single Pack
£2.74 Add to basket Compare -

First Step Safari 150ml Newborn Baby Feeding Bottle
£1.09 Add to basket Compare -

DUZZIT 4 Stainless Steel Scrubbing Pads
£0.94 Add to basket Compare
Related products
-

Extra Small No. 0 Wire Spring Plate Wall Hanger Holder (3.5 – 5 inches) – 1 Piece
£0.43 Add to basket Compare -
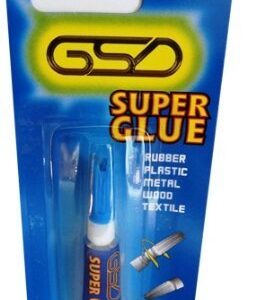
GSD 3g Super Adhesive Glue
£0.43 Add to basket Compare -
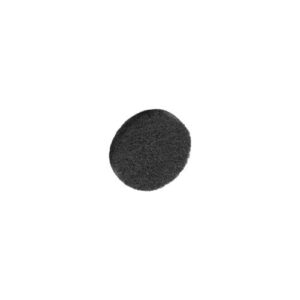
SECURIT S5400 13MM X 3MM ROUND FELT PADS, PACK OF 24
£0.28 Add to basket Compare -
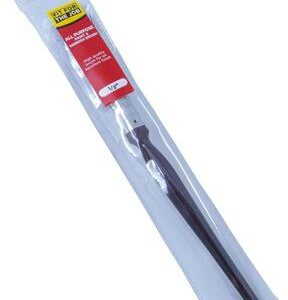
ALL-PURPOSE PAINT BRUSH, 0.5 INCH / 13MM – FIT FOR THE JOB
£0.43 Add to basket Compare


Ruby (verified owner) –
The products I ordered were exactly as expected. The wholesaler provided fast shipping, and their customer service team was fantastic.
Jackson (verified owner) –
I’ve had multiple orders from this wholesaler, and each time, I’ve been impressed. The products are high-quality, and their customer service is excellent.