Subtotal: £1.64
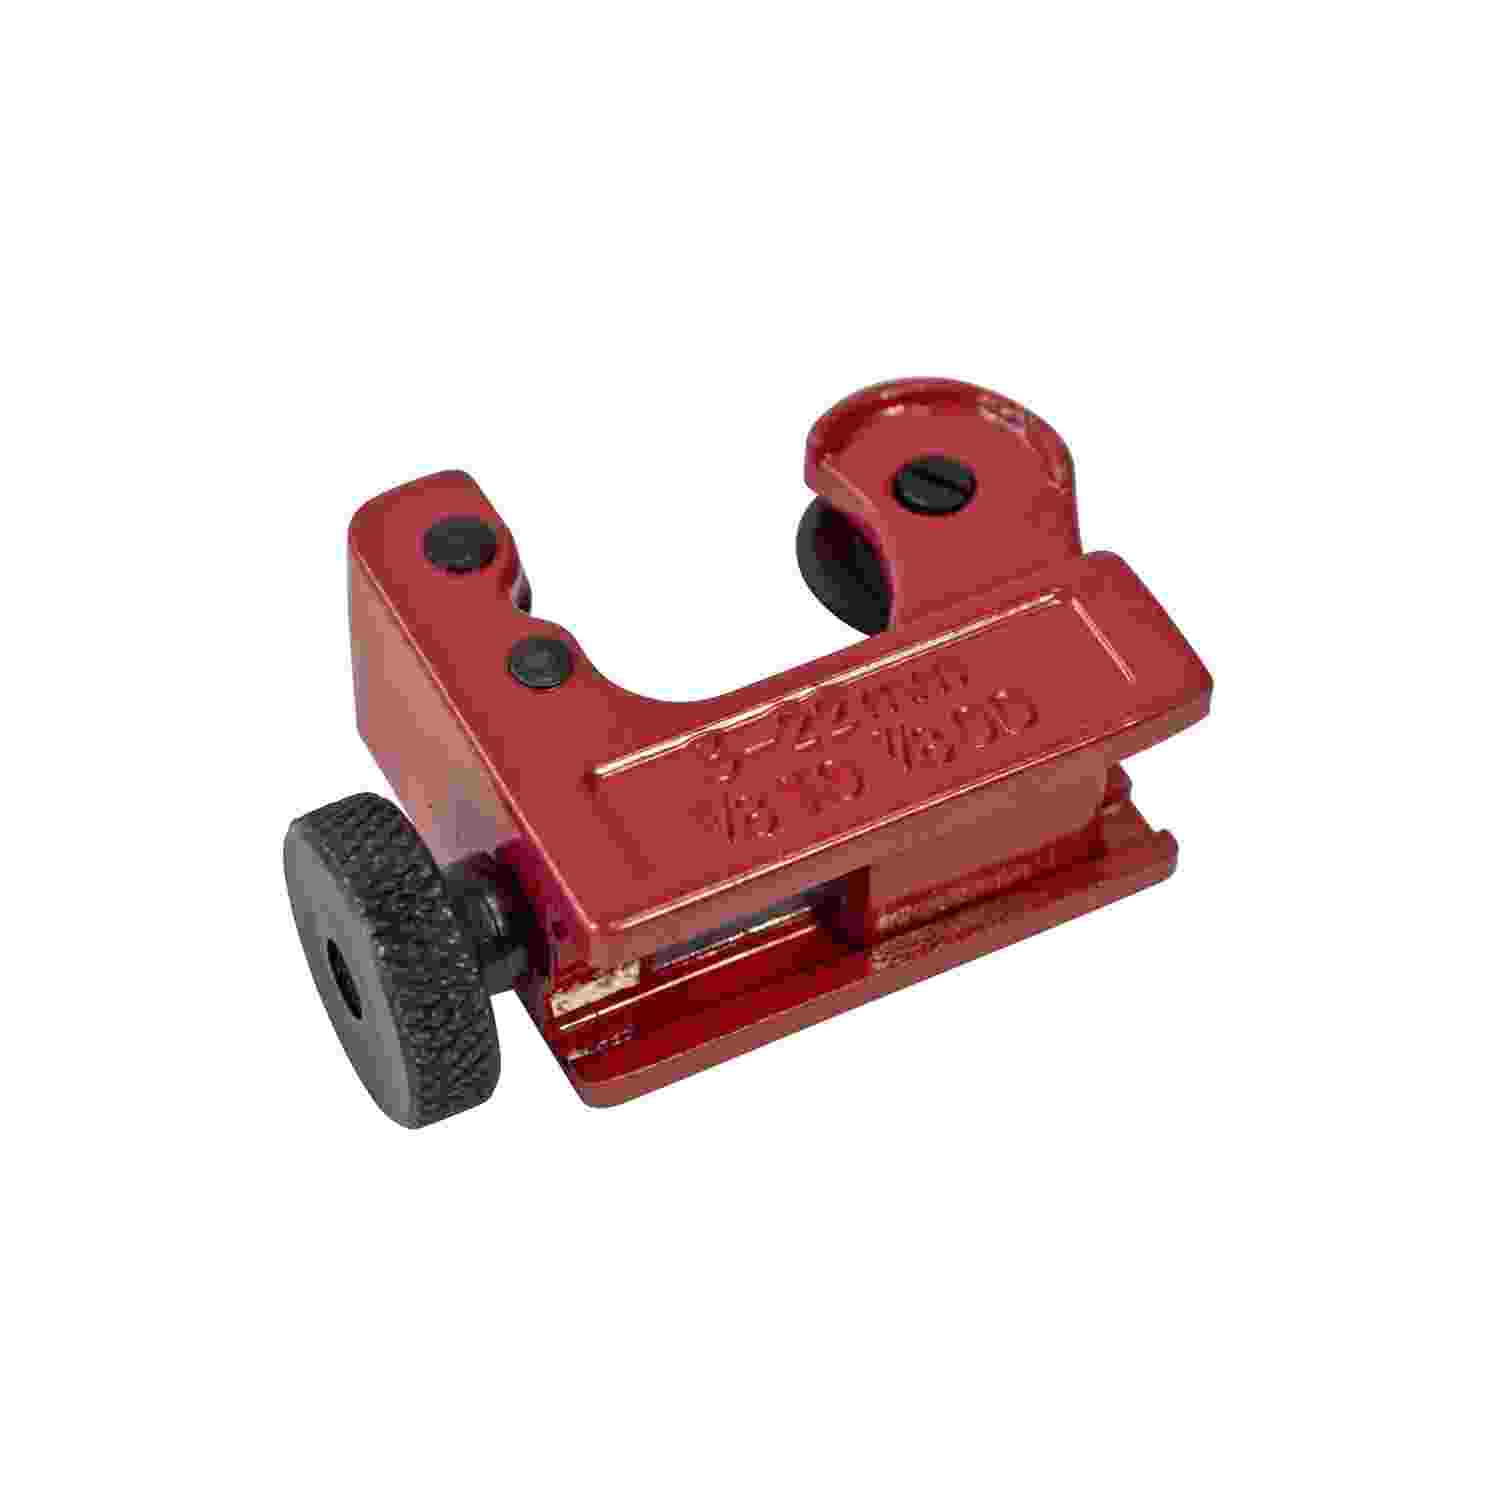
Compact Pipe Cutter
How to Use the Mini Pipe Cutter
Introduction
The Mini Pipe Cutter is a handy tool designed for cutting small pipes. Follow these instructions to ensure proper and safe use of the tool.
Materials Needed
- Mini Pipe Cutter
- Pipe (compatible with cutter’s size)
- Safety glasses
- Protective gloves
Safety Precautions
- Always wear safety glasses to protect your eyes from metal fragments.
- Wear protective gloves to avoid cuts or injuries.
- Ensure the workspace is clean and free of obstructions.
Steps to Use the Mini Pipe Cutter
Step 1: Prepare the Pipe
- Measure and mark the pipe where you want to make the cut.
- Ensure the pipe is free of debris and securely positioned.
Step 2: Position the Cutter
- Open the mini pipe cutter by rotating the adjustment knob.
- Place the pipe between the cutting wheel and the rollers.
- Align the marked cutting spot with the cutting wheel.
Step 3: Tighten the Cutter
- Gently tighten the adjustment knob until the cutting wheel lightly contacts the pipe.
- Do not overtighten to avoid damaging the pipe.
Step 4: Cut the Pipe
- Rotate the cutter around the pipe, maintaining consistent pressure.
- After each full rotation, slightly tighten the adjustment knob.
- Continue rotating and tightening until the pipe is fully cut through.
Step 5: Remove the Cutter
- Loosen the adjustment knob to release the pipe.
- Carefully remove the pipe from the cutter.
Maintenance Tips
- Clean the cutter after each use to prevent rust and debris buildup.
- Regularly check and replace the cutting wheel if it becomes dull.
Troubleshooting
- If the cutter is not cutting smoothly, ensure the cutting wheel is sharp and properly aligned.
- If the pipe is not fitting well, check the cutter’s size compatibility with the pipe.
2 Reviews For This Product
Loading...








by Kayden (verified owner)
I love the products I purchased! The wholesaler is reliable, and I always get my orders in perfect condition and on time.
by Faaiza (verified owner)
I’m very impressed with the products I’ve received. The quality is exactly what I was looking for, and the wholesaler made sure everything was delivered on time.