- Sorry, you can't add more than one vendor's product in the cart.
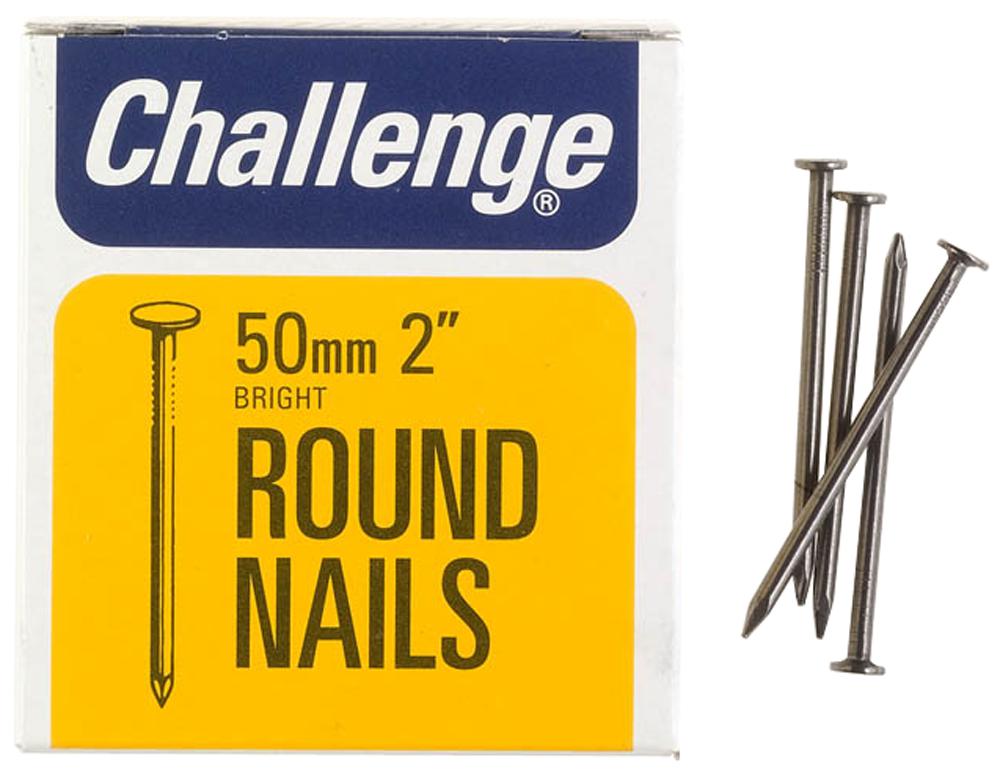
CHALLENGE 50MM BRIGHT LOST HEAD NAILS, 225G
£0.76
Sold by: Good Office SuppliesLast updated on January 5, 2025 3:02 am Details
Compare
Report Abuse
Description
How to Use Challenge Bright Lost Head Nails 50mm 225g
Materials Needed
- Challenge Bright Lost Head Nails 50mm 225g
- Hammer
- Measuring Tape
- Pencil or Marker
- Wood or appropriate material for nailing
- Safety Goggles
Step-by-Step Instructions
Step 1: Prepare Your Workspace
- Ensure your workspace is clean and free of any obstructions.
- Wear safety goggles to protect your eyes.
Step 2: Measure and Mark
- Use the measuring tape to determine where you want to place the nails.
- Mark the positions with a pencil or marker for accuracy.
Step 3: Position the Nail
- Hold the nail between your thumb and index finger.
- Place the pointed end of the nail on the marked spot on the material.
Step 4: Hammer the Nail
- Carefully tap the nail with the hammer until it stands on its own.
- Remove your fingers and continue to hammer the nail until it is flush with or slightly below the surface.
Step 5: Final Check
- Ensure the nail is secure and the workpiece is stable.
- Make any necessary adjustments for safety and precision.
Safety Tips
- Always wear safety goggles when using nails and hammers.
- Ensure that your work area is well-lit and ventilated.
- Keep fingers clear of the hammer’s path to prevent injury.
Additional Notes
- The Challenge Bright Lost Head Nails 50mm are ideal for woodworking projects where a smooth finish is necessary.
- These nails are designed to be less visible after installation, making them perfect for aesthetics-focused applications.
3 reviews for CHALLENGE 50MM BRIGHT LOST HEAD NAILS, 225G
Loading...
Product Location
-
WHAM CUISINE 800ML RECTANGULAR FOOD CONTAINER WITH CLEAR/ICE WHITE LID
£0.94 Add to basket Compare -
151 Pack of 80 Exterior Adhesive Pads
£0.87 Add to basket Compare -

FAST PAK VALUE 4054 EXTRA LARGE FLUORESCENT SELF-ADHESIVE LETTER B
£0.65 Add to basket Compare -

RAPIDE SYNTHETIC CHAMOIS CLOTHS – PACK OF 3
£0.94 Add to basket Compare -
400g DOFF Ant Killer Powder
£1.75 Add to basket Compare -
Universal Fit Metal Watering Can Rose – Single Piece
£0.85 Add to basket Compare


Ryan (verified owner) –
Amazing quality! This wholesaler provides the best products at great prices, and their shipping is always quick.
Yaseer (verified owner) –
The customer service from this wholesaler is outstanding, and the product quality is second to none. I will definitely be back for future orders.
Raheel (verified owner) –
Great experience! The products are always in excellent condition, and the wholesaler’s communication is second to none.