

Description
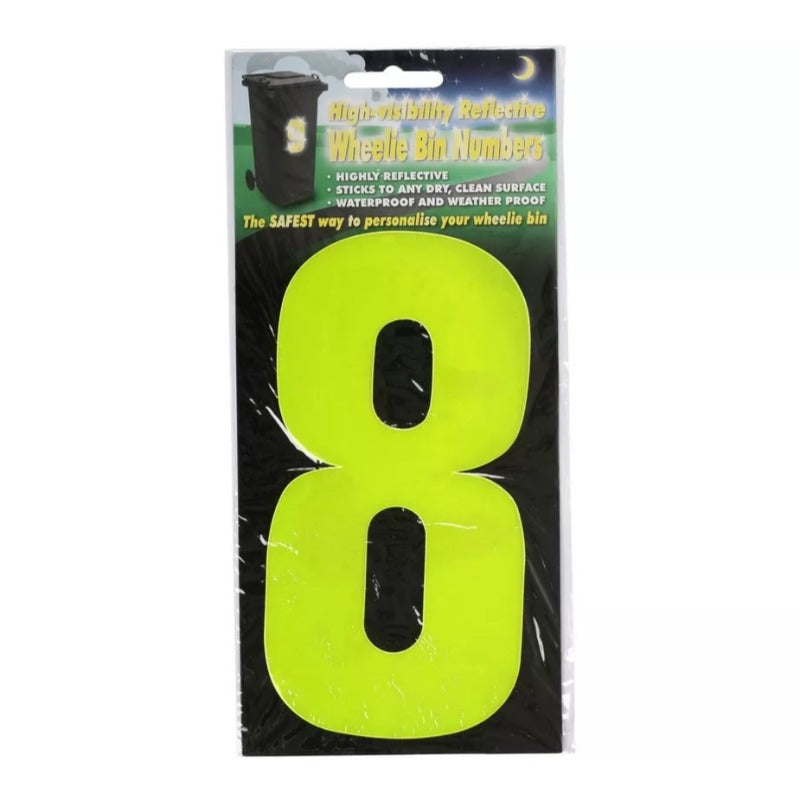
How to Use the Wheelie Bin Sticker
Materials Needed
- Wheelie Bin Sticker – Number 8
- Clean cloth or sponge
- Water
- Optional: Mild detergent
Step-by-Step Instructions
Step 1: Clean the Surface
- Ensure the surface of the wheelie bin is dry and clean.
- Use a clean cloth or sponge to wipe the area where the sticker will be applied.
- If necessary, use water and a mild detergent to remove any dirt or grime.
- Let the area dry completely before proceeding.
Step 2: Prepare the Sticker
- Carefully peel the reflective sticker from its backing.
- Ensure not to touch the adhesive side to prevent losing stickiness.
Step 3: Apply the Sticker
- Position the sticker onto the desired area of the wheelie bin.
- Align it carefully to ensure it is straight and centered.
- Press down firmly starting from the center and moving outward to remove any air bubbles.
Step 4: Ensure Proper Adhesion
- Run your hand over the sticker to ensure it is securely attached.
- Check the edges to ensure they are firmly stuck to the surface.
Tips for Best Results
- Apply the sticker in dry weather conditions to ensure maximum adhesion.
- Avoid repositioning the sticker once applied to prevent loss of adhesion.
Sean (verified owner) –
This wholesaler is by far the best I’ve worked with. The products are always of high quality, and I appreciate their attention to detail in packaging.
Faakhira (verified owner) –
I’m very happy with the product quality. I’ve ordered a few times from this wholesaler, and I’ve always been satisfied with both the products and service.
Ryker (verified owner) –
I’m very happy with the product quality. I’ve ordered a few times from this wholesaler, and I’ve always been satisfied with both the products and service.