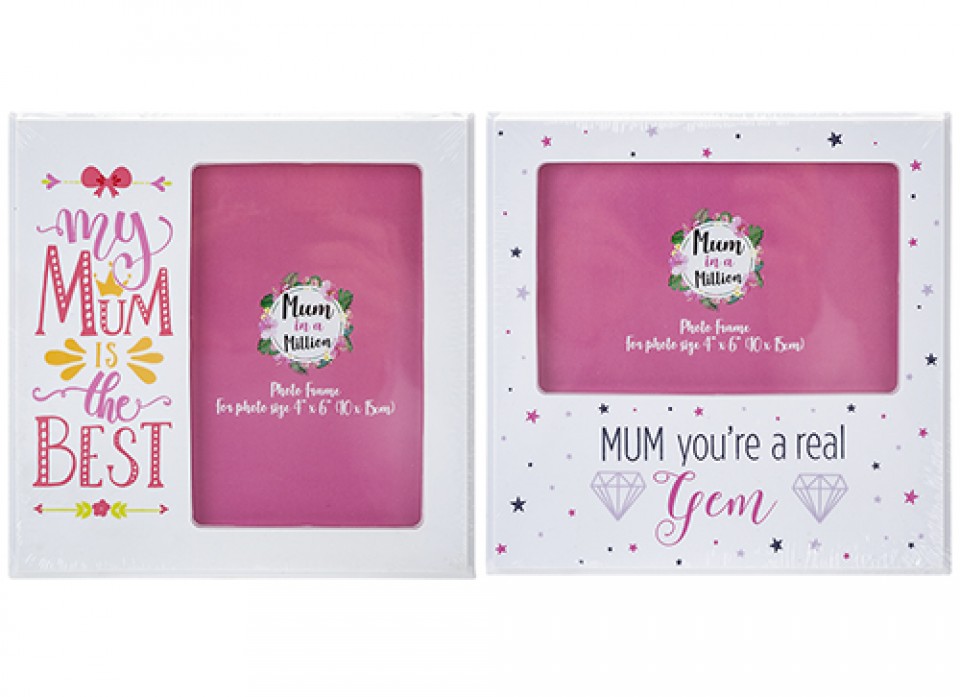
4″ x 6″ Photo Frame with Assorted Mum Color Print
£1.53
Sold by: Good Office SuppliesLast updated on January 5, 2025 2:36 am Details
Compare
Report Abuse
Description
How to Use the Assorted Colour Mum Colour Printed Photo Frame 4″ x 6″
Step 1: Prepare Your Photo
- Select a photo you would like to frame. Ensure it is 4″ x 6″ in size for a perfect fit.
- If necessary, print or trim your photo to match these dimensions.
Step 2: Open the Frame
- Carefully turn the frame over to the back side.
- Locate the tabs or clips securing the back panel.
- Gently lift or slide the tabs/clips to release the back panel.
Step 3: Insert Your Photo
- Remove the back panel and the filler paper, if any.
- Place your 4″ x 6″ photo against the glass front of the frame.
- Ensure the photo is correctly aligned and centered.
Step 4: Secure the Back Panel
- Reposition the back panel onto the frame.
- Press down and secure it with the tabs or clips to hold the photo in place.
Step 5: Display Your Frame
- Decide where you’d like to display your framed photo.
- Use the stand on the back for tabletop display or hang it on a wall using the attached hooks.
Tips for Best Results
- Clean the glass before inserting your photo to avoid fingerprints or dust.
- Choose a location away from direct sunlight to prevent photo fading.
4 reviews for 4″ x 6″ Photo Frame with Assorted Mum Color Print
Loading...
Product Location
-
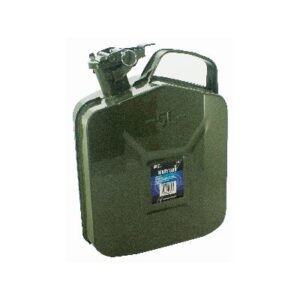
5L PRO USER UN Certified Jerry Can
£9.45 Add to basket Compare -
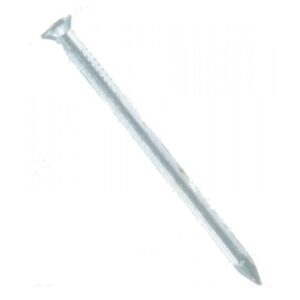
FAST PAK VALUE 1666 – 3.0 x 70/75 Masonry Nails, Pack of 10
£0.65 Add to basket Compare -

Pack of 4 SIL Sticky Memo Notes
£0.87 Add to basket Compare -

CONCORD White Gummed Envelopes, 3.5 x 6 inches, Pack of 50
£0.76 Add to basket Compare -
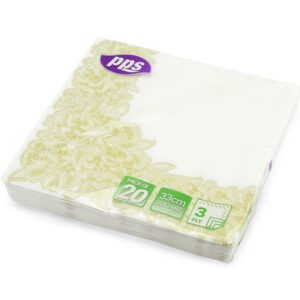
PPS 3-Ply Napkins with Gold Leaf Border, 33cm x 33cm, Pack of 20
£0.83 Add to basket Compare -
FAST PAK VALUE 0683 M10 Zinc-Plated Steel Washers, Pack of 20
£0.65 Add to basket Compare


Natalie (verified owner) –
This wholesaler consistently provides amazing products and excellent service. I’m always happy with my orders, and delivery is quick.
Aleena (verified owner) –
This wholesaler has earned my trust. The product quality is unbeatable, and they have the best customer service I’ve ever experienced. Highly recommended!
Daisy (verified owner) –
Amazing products! I’ve been buying from this wholesaler for months, and each time the delivery is prompt, and the quality is consistent. Keep up the great work!
Afaque (verified owner) –
I’ve found my go-to wholesaler! The products are amazing, and they always ship quickly. Excellent customer service too!