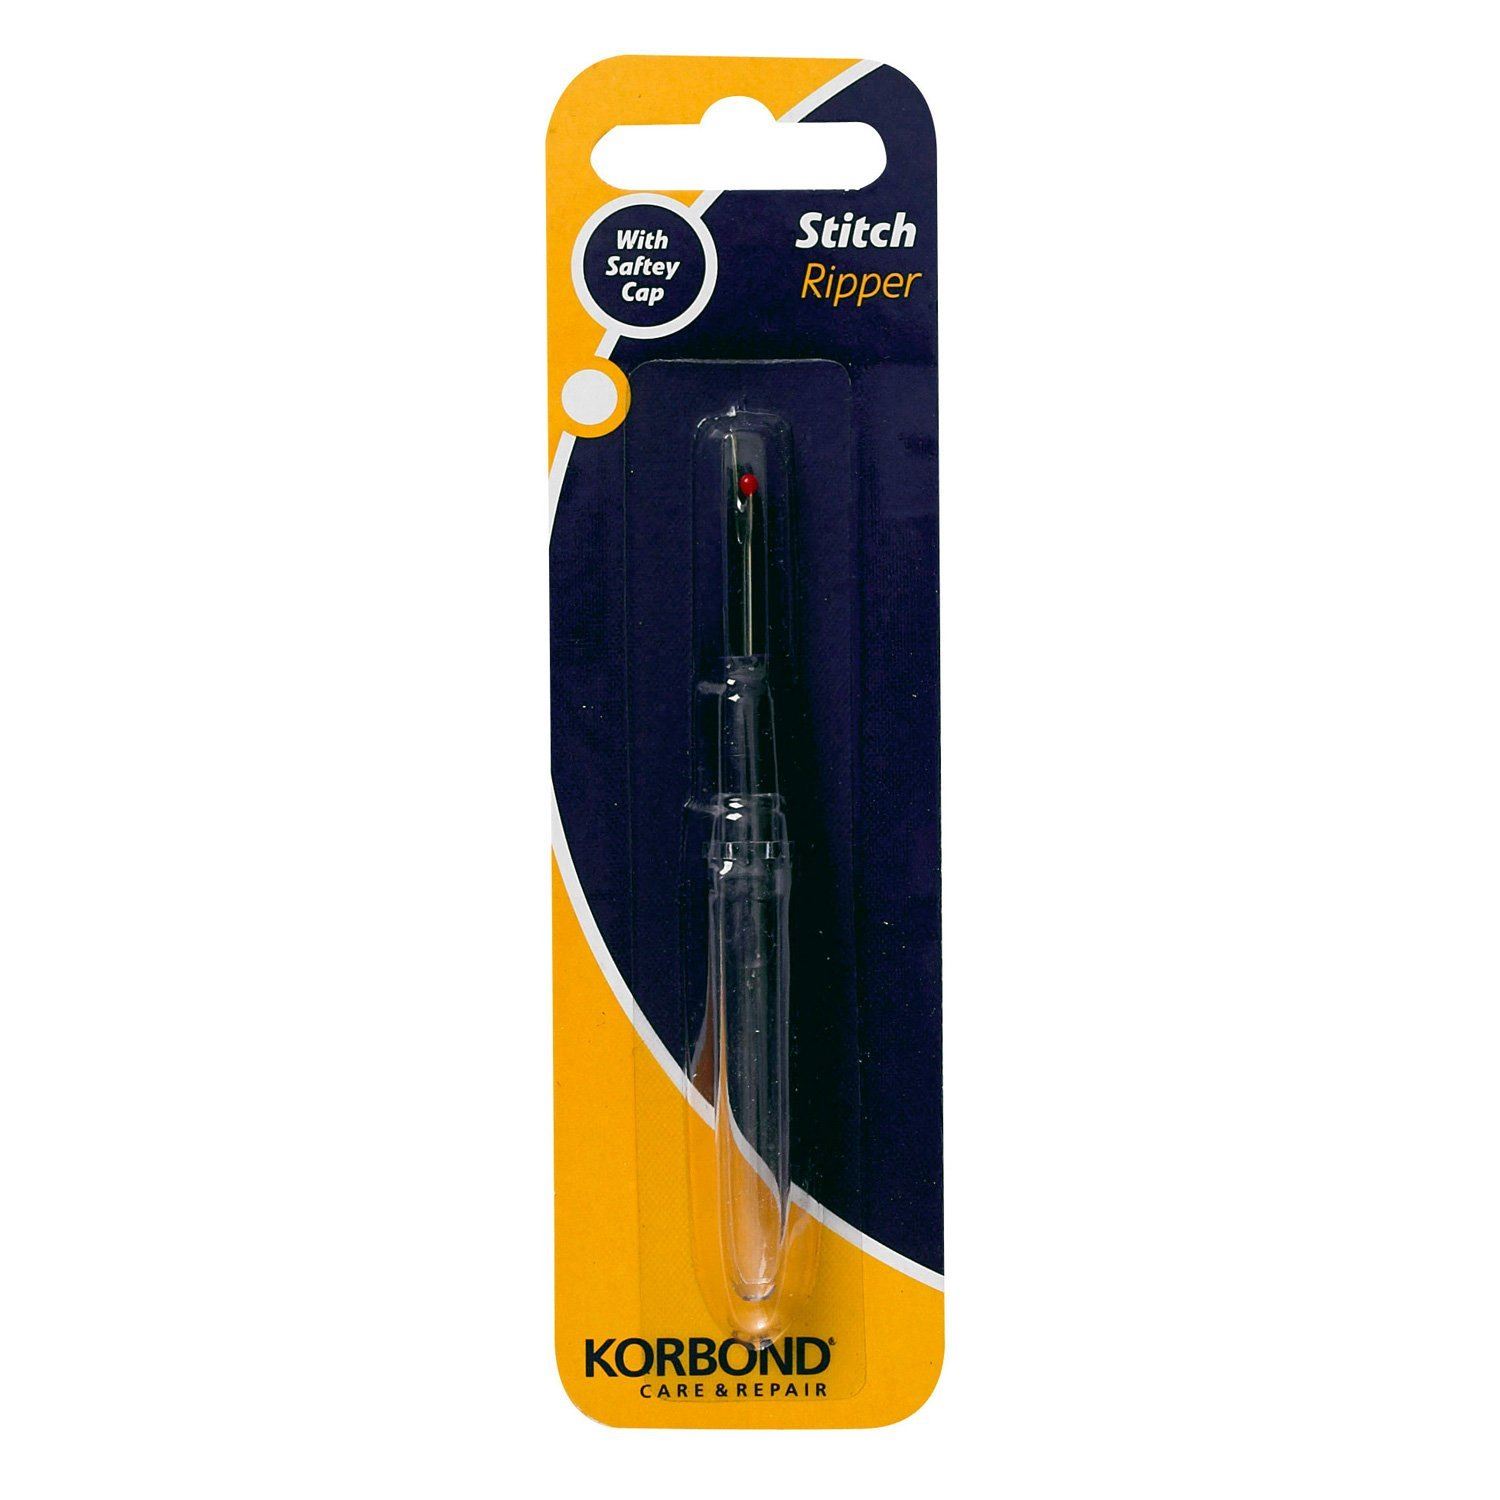

Description
How to Use the Korbond Stitch Ripper
Introduction
The Korbond Stitch Ripper is a handy tool used to remove unwanted stitches or seams in fabric. This guide will help beginners learn how to use it effectively.
Materials Needed
- Korbond Stitch Ripper
- A piece of fabric with stitches you wish to remove
- Optional: Small scissors for finishing touches
Step-by-Step Instructions
Step 1: Identify the Stitches
- Lay the fabric flat on a clean surface.
- Identify the stitches or seam you wish to remove.
Step 2: Insert the Stitch Ripper
- Hold the stitch ripper with the pointed end facing the stitches.
- Gently slide the pointed end under the stitch you want to cut.
- Be careful to avoid piercing or damaging the fabric.
Step 3: Cut the Stitches
- Once the pointed end is under the stitch, gently lift it up to cut through the thread.
- Repeat this process for several stitches until you can easily pull the seam apart with your fingers.
Step 4: Remove Loose Threads
- After cutting through the stitches, gently pull apart the fabric to expose the loose threads.
- Use your fingers or a small pair of scissors to remove any remaining threads.
Step 5: Finish Up
- Inspect the fabric to ensure all unwanted stitches are removed.
- Smooth out the fabric and prepare it for resewing if necessary.
Safety Tips
- Always handle the stitch ripper carefully to avoid injury.
- Ensure the workspace is well-lit to clearly see the stitches you are removing.
Conclusion
With practice, using the Korbond Stitch Ripper will become a quick and easy task. It’s an essential tool for anyone working with sewing projects.
2 reviews for KORBOND SEAM RIPPING TOOL
Loading...
Vendor Information
- Store Name: Good Office Supplies
- Vendor: Good Office Supplies
- No ratings found yet!
Product Location
32 The Broadway, Ealing, Greenford, UB6 9PT, United Kingdom-
Whitefurze Black 60cm Venetian Window Box Tray
£1.62 Add to basket -
A-Z Alphabetical Dividers – Pack of 20
£0.76 Add to basket -
FAST PAK VALUE 1383 1.0MM T & E GREY CABLE CLIPS, 40 PACK
£0.65 Add to basket -

Zodiac Poly Rattan Round Basket with Handle, 20cm x 8 inches
£1.75 Add to basket -

Premium Apollo Milk Frothing Thermometer with Stainless Steel Clip
£1.78 Add to basket -

WHAM CASA 28CM SILVER SAGE ROUND BOWL
£1.09 Add to basket


Aadil (verified owner) –
I’m a regular customer, and this wholesaler continues to provide great service and top-quality products. Their fast shipping is a huge bonus.
Nadia (verified owner) –
Super fast delivery and excellent product quality. I’m very happy with this wholesaler’s service and will keep coming back for future orders.