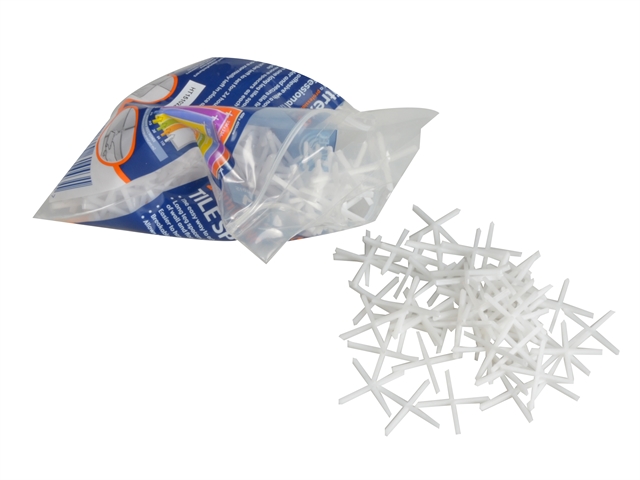
Vitrex 2mm Long Leg Tile Spacers, Pack of 250
£1.93
Last updated on November 26, 2025 6:22 am Details
Report Abuse

Description
How to Use Vitrex Long Leg Tile Spacers 2mm
Introduction
Vitrex Long Leg Tile Spacers are essential for ensuring even spacing between tiles, which helps achieve a professional finish. With these 2mm spacers, you can maintain consistent grout lines while laying tiles.
Materials Needed
- Vitrex Long Leg Tile Spacers 2mm
- Tiles
- Tile adhesive
- Tile cutter (if necessary)
- Grout
- Tile trowel
Steps to Use Tile Spacers
Step 1: Prepare the Surface
- Ensure the surface where the tiles will be laid is clean, dry, and level.
- Apply tile adhesive evenly using a notched trowel.
Step 2: Lay the First Tile
- Position the first tile in the desired starting point, pressing it firmly into the adhesive.
Step 3: Insert Tile Spacers
- Place Vitrex Long Leg Tile Spacers at each corner of the tile to ensure even spacing.
- For larger tiles, additional spacers may be required along the edges.
Step 4: Continue Tiling
- Place the next tile beside the first, using the spacers to maintain a consistent gap.
- Press it firmly into the adhesive.
- Repeat the process, adding spacers and tiles until the entire area is covered.
Step 5: Remove Spacers
- Allow the adhesive to set as per the manufacturer’s instructions.
- Carefully remove all tile spacers once the adhesive is dry.
Step 6: Apply Grout
- Mix grout according to package instructions.
- Apply grout using a grout float, pressing it into the spaces between tiles.
- Wipe away excess grout with a damp sponge and allow it to cure.
Conclusion
By using Vitrex Long Leg Tile Spacers, you can achieve a neat and professional tile installation with consistent grout lines. Be sure to follow the steps carefully for the best results.
2 reviews for Vitrex 2mm Long Leg Tile Spacers, Pack of 250
Loading...
Vendor Information
- Store Name: Good Office Supplies
- Vendor: Good Office Supplies
- No ratings found yet!
Product Location
32 The Broadway, Ealing, Greenford, UB6 9PT, United Kingdom-

BIC Black Pens, Pack of 50
£7.14 Add to basket -
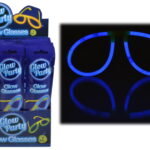
Color Foil Bag with Glow Glasses
£0.39 Add to basket -
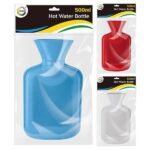
500ml Warm Water Bottle
£0.98 Add to basket -
COUNTY 40x30cm Magnetic Dry Erase Notice Board
£3.29 Add to basket -
Paint Factory Chalk It Eggshell Blue Furniture Spray Paint, 400ml
£1.86 Add to basket -
Windsor Tea Spoons, Set of 4
£2.63 Add to basket


Duriya (verified owner) –
The wholesaler has been a reliable source for all my business needs. Great products at great prices, and delivery is always on time!
Aidah (verified owner) –
I’ve been buying from this wholesaler for a while now, and I’m always impressed with the products and the level of service they provide.