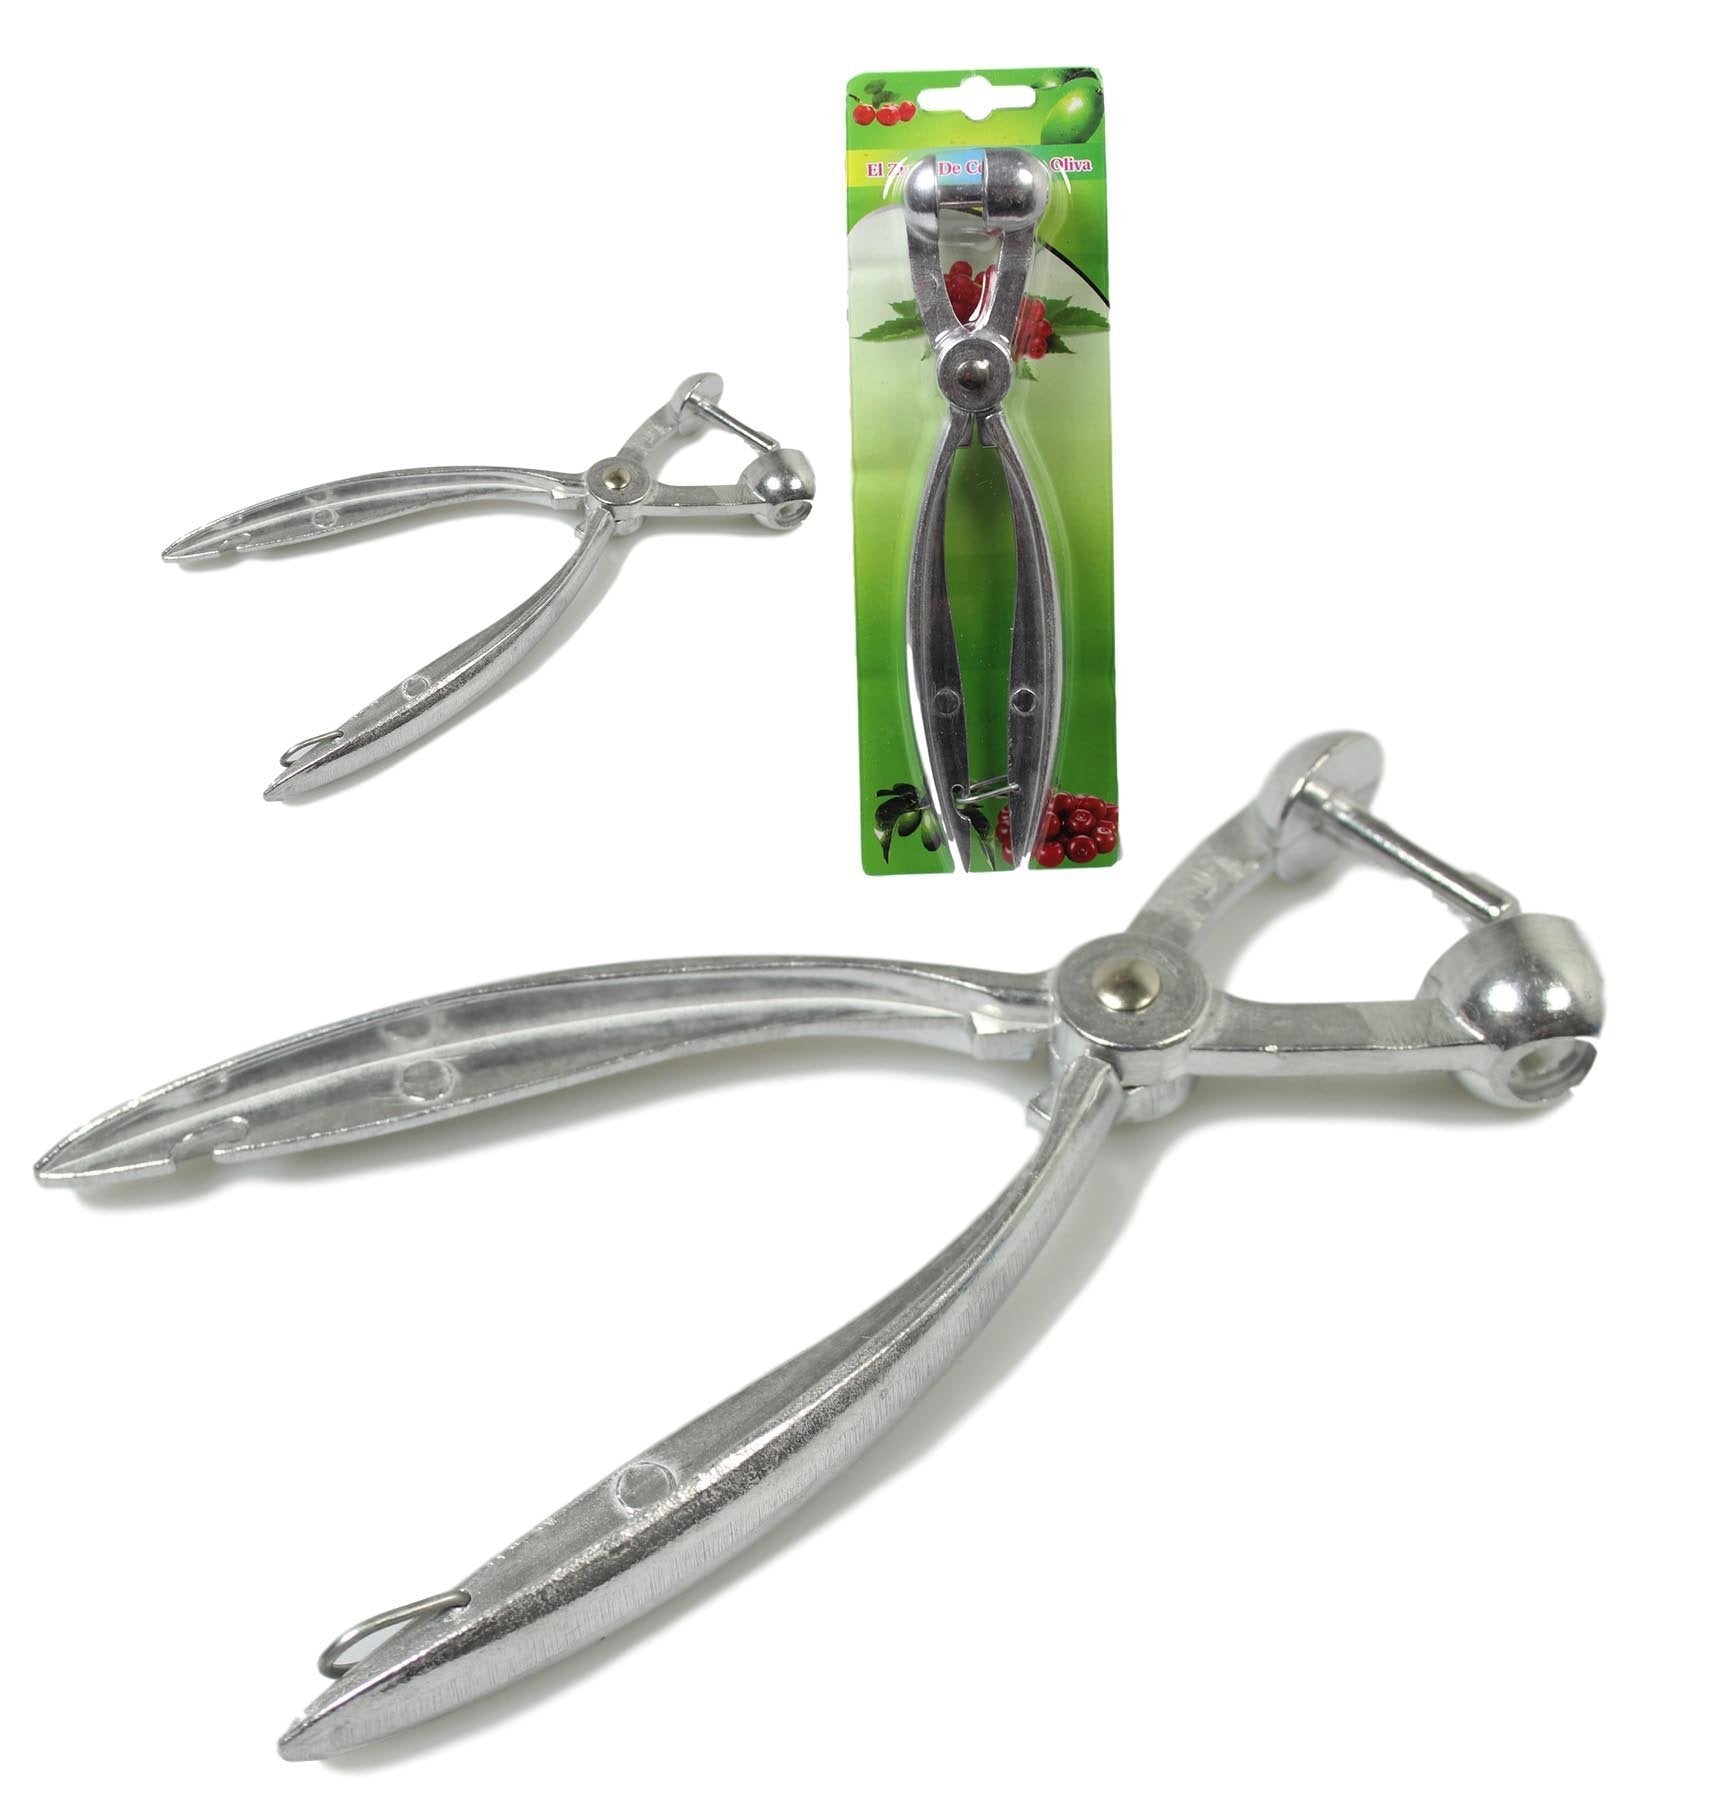
The Metal Cherry Pit Remover, measuring 19 cm, is a handy kitchen tool designed to easily remove pits from cherries. The model number for this particular product is 5218. It’s a…
£1.27
- Product is a Metal Cherry Pit Remover
- Measures 19 cm in length
- Prices listed are for a single unit
- Colors and designs may vary from the photos
- Sizes provided are approximate
- Stock availability may vary
Last updated on October 26, 2025 8:57 am Details
Report Abuse
Description
How to Use the Metal Cherry Pit Remover
Step 1: Prepare Your Workspace
- Find a clean and stable surface to work on.
- Gather the cherries you wish to pit.
- Have a bowl ready to collect the pitted cherries.
Step 2: Wash the Cherries
- Rinse the cherries under cold water to remove any dirt or pesticides.
- Pat them dry with a clean towel.
Step 3: Position the Cherry Pit Remover
- Hold the cherry pit remover in one hand.
- Place a cherry on the platform of the remover, ensuring the stem is facing upwards.
Step 4: Remove the Pit
- Press down on the remover’s handle firmly to push the pit through the cherry.
- The pit should come out the other side, leaving the cherry whole.
Step 5: Repeat the Process
- Remove the pitted cherry and set it aside in the bowl.
- Continue with the remaining cherries until all are pitted.
Step 6: Clean the Tool
- Wash the cherry pit remover under warm water with mild soap.
- Dry it thoroughly before storing to prevent rust.
Tips
- If the cherry pit remover becomes hard to press, check for any blocked pits and clear them.
- For best results, use cherries of similar size for consistent pitting.
Shipping Countries: United Kingdom (UK)
Ready to ship in 3-5 business days
Shipping Policy
Orders over £50 FREE Shipping
International orders, please contact us by email before lacing orders.
Refund Policy
Refund policy
Non-faulty items must be returned within 14 Days. We reserve the right to charge a restocking fee of 50% if we agree to unused & unopened returns. All items & packaging will be inspected, we do not pay for or contribute towards postage or shipping fees, you must used tracked services as we do not accept untracked.
Returns on smoking and e-cigarette items are not accepted.
We operate a 5% margin for broken or faulty goods.
The risk of damage to or loss of the goods passes to you at the time of delivery or the time we attempt delivery. This is when the goods are collected if you fail to take delivery at the agreed time.
Other than implied warranties and guarantees under the law, business-to-business sales are not covered by warranties or guarantees.
Orders are despatched by pallet or by box for smaller deliveries. In the event that the pallet or wrapping shows any signs of damage, please notify us immediately by emailing help@m8w.co.uk and noting it on the delivery manifest. If the order is below £750 + VAT and not sent on a pallet, we do not take any responsibility for damages or issues with any products including liquids, glass etc.
Once the goods leave our warehouse with our chosen carrier, it is your responsibility to inquire if you require insurance. The goods are not insured by default, so it is important to discuss this with us prior to placing your order so that we can get a quote for you for the premium to cover the value of the goods. If there is any evidence of damage during transit, the delivery note should be noted and reported immediately to customer services. Never accept delivery if there is evidence of significant damage.
Our customer service team must be notified within 72 hours of any shortages or damages above 5%. In the event that this timeframe does not apply, all claims will be deemed waived and completely barred.
We charge an administration/picking/packing fee of 25% of the order value plus any delivery charges incurred for cancelled or refunded orders. Refunds are not available for any deposits paid.
The cost of returning damaged or faulty items to us for inspection must be borne by you. Returning items is your responsibility, including handling and shipping.
Once we receive damaged returned goods, we will inspect them and determine whether or not liability can be accepted. We will notify you as soon as the outcome is known.
There will be no liability beyond the value of the goods.
Opened and non-originally packaged goods will not be accepted for return.
Please also refer to our Terms & Conditions page for further information and policies.
Loading...
Vendor Information
- Store Name: TK Wholesaler
- Vendor: TK Wholesaler
- No ratings found yet!
Product Location
UB8 9PZ, Uxbridge, Greater London, England, United Kingdom-

If you have specific questions about this product or need more detailed information, it would be best to consult the seller or retailer providing these tile cover stickers
£0.55 Add to basket -
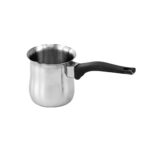
The Stainless Steel Turkish Tea Coffee Maker Warmer with a Long Handle, model number 8881, is a 500ml capacity kitchen tool designed for preparing traditional Turkish tea or…
£3.03 Add to basket -
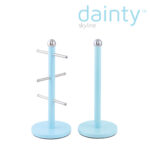
It appears you’re referring to a specific product, the “Dainty Kitchen Roll Holder & Mug Tree Skyline Blue 2704 / 6736 A.” This item is likely a kitchen accessory set designed…
£9.85 Add to basket -
**Material**: The blades are made of stainless steel, which is known for its durability and resistance to rust and corrosion. The handle is made from ABS (Acrylonitrile…
£0.83 Add to basket -
**Size**: It has a diameter of 30 cm, making it suitable for larger cakes or tarts
£1.71 Add to basket -
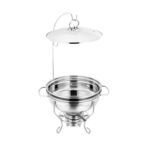
The SQ Round Banquet Buffet Chafing Dish with Glass Lid is a catering item typically used for serving hot food at events or buffets. The capacity of this particular chafing dish…
£34.65 Add to basket


Reviews
There are no reviews yet.