STAR PACK of 12 Heavy Duty Rimless Wall Plugs, Grey Nylon, M10 x 50mm
£0.76
Last updated on February 3, 2025 1:41 am Details
Compare
Report Abuse
Description
How to Use the STAR PACK 12 Rimless Wall Plug Heavy Duty
Step 1: Gather Necessary Tools
- Drill with appropriate drill bit
- Screwdriver
- Pencil or marker
- Measuring tape
Step 2: Determine Placement
- Use a measuring tape to determine where you want to insert the wall plug.
- Mark the spot with a pencil or marker for precision.
Step 3: Drill the Hole
- Select a drill bit that matches the size of the wall plug (M10).
- Drill a hole at the marked spot to a depth of approximately 50mm.
- Make sure the hole is clean and free of debris.
Step 4: Insert the Wall Plug
- Take the rimless wall plug and gently insert it into the drilled hole.
- Tap it lightly with a hammer if necessary to ensure it fits snugly.
Step 5: Secure Your Fixture
- Align your fixture or bracket with the wall plug.
- Insert the screw through the fixture and into the wall plug.
- Use a screwdriver to tighten the screw until it is secure.
Step 6: Verify Stability
- Check the fixture to ensure it is securely attached to the wall.
- Make any necessary adjustments to ensure stability.
Safety Tips
- Wear protective eyewear while drilling.
- Ensure the drill is unplugged when changing drill bits.
- Do not overload the wall plug beyond its intended use.
2 reviews for STAR PACK of 12 Heavy Duty Rimless Wall Plugs, Grey Nylon, M10 x 50mm
Loading...
Product Location
-
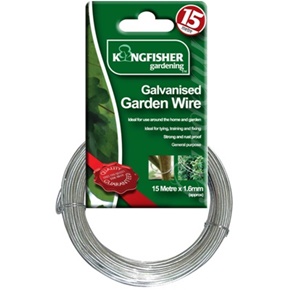
1.6 MM GALVANIZED WIRE
£1.05 Add to basket Compare -
Vedmantra Red Rose Scented Incense Sticks with Holder – Pack of 120
£2.19 Add to basket Compare -
CRE8 A4 Black Cardstock, Pack of 15 Sheets
£0.72 Add to basket Compare -
TALA FRUIT PATTERN GLASS COUNTERTOP PROTECTOR
£3.29 Add to basket Compare -
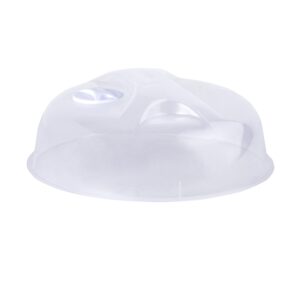
Clear 25cm Microwave Cover by WHAM CUISINE
£1.09 Add to basket Compare -
14-Inch Stainless Steel Slotted Turner – Sober Design
£0.83 Add to basket Compare


Phoenix (verified owner) –
This wholesaler has never let me down. The products I receive are always of the highest quality, and delivery is always on time.
John (verified owner) –
Highly recommend this wholesaler! Fast shipping, reliable products, and excellent customer service. I will definitely be back for more.