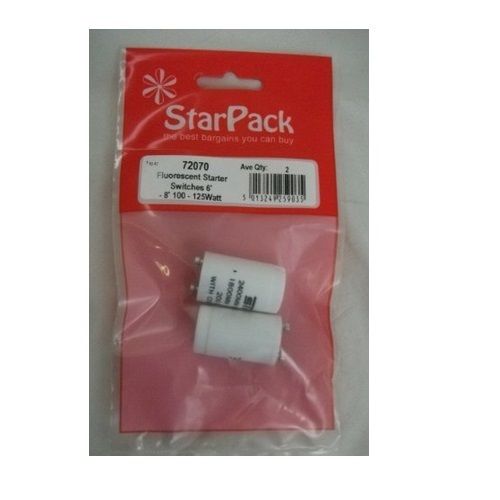
STAR PACK 6-8 FT FLUORESCENT STARTER SWITCH, 100-125 WATT
£0.76
Last updated on February 7, 2025 9:59 am Details
Out of stock
Email when stock available

Description
How to Use the STAR PACK Fluorescent Starter Switch
Step 1: Safety Precautions
- Ensure that the power supply is turned off before starting any installation or replacement.
- Wear protective gloves and safety goggles to prevent any injuries.
Step 2: Removing the Old Starter
- Locate the old starter switch on your fluorescent light fixture.
- Grasp the starter firmly and rotate it counterclockwise to unlock it.
- Gently pull the starter out of its socket and dispose of it properly.
Step 3: Installing the New Starter Switch
- Take the STAR PACK Fluorescent Starter Switch out of its packaging.
- Align the pins of the new starter with the slots in the fixture socket.
- Insert the starter into the socket and rotate it clockwise until it locks into place.
Step 4: Testing the Installation
- Turn the power supply back on to the fluorescent fixture.
- Switch on the light to ensure it operates correctly.
- If the light does not illuminate, recheck the starter installation and connections.
Step 5: Maintenance
- Periodically check the starter switch and replace it if the light flickers or doesn’t start.
- Keep the fixture and starter area clean from dust and debris.
By following these steps, you can efficiently replace and use the STAR PACK Fluorescent Starter Switch to keep your lighting system in optimal condition.
2 reviews for STAR PACK 6-8 FT FLUORESCENT STARTER SWITCH, 100-125 WATT
Loading...
Vendor Information
- Store Name: Good Office Supplies
- Vendor: Good Office Supplies
- No ratings found yet!
Product Location
32 The Broadway, Ealing, Greenford, UB6 9PT, United Kingdom-

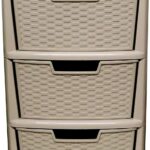
Large 3-Drawer Rattan-Look Plastic Storage Tower – Mushroom Color
£13.63 Add to basket -
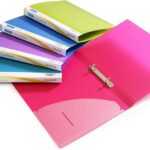
RAPESCO A4 Vibrant Clear Ring Binder
£1.27 Add to basket -
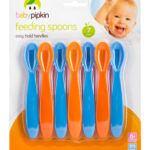
Set of 7 Babypipkin Feeding Spoons
£0.99 Add to basket -
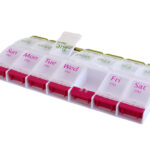
MEDISURE 7-Day AM/PM Push Button Flip-Up Pill Organizer
£1.93 Add to basket -
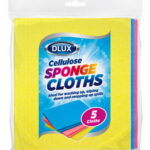
Pack of 5 DLUX Cellulose Sponge Cloths
£0.87 Add to basket -
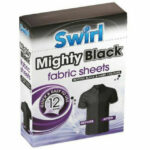
Mighty Black Fabric Swirl – Pack of 12 Sheets
£0.90 Add to basket
Fatima (verified owner) –
I’ve ordered several times, and every time the experience has been smooth and satisfying. The product quality is always consistent, and delivery is on time.
Eiman (verified owner) –
I’m consistently impressed with the quality of the products from this wholesaler. They’re reliable, and the prices are very competitive.