
STAR PACK 55 VARIETY OF SIZES & COLORS WALL PLUGS
£0.76
Sold by: Good Office SuppliesLast updated on February 6, 2025 2:35 am Details
Compare
Report Abuse
Description
How to Use: STAR PACK 55 Assorted Sizes & Colours Wallplug
Step 1: Gather Your Tools and Materials
- Drill
- Screwdriver
- Appropriate screws for your wallplugs
- Measuring tape
- Pencil for marking
Step 2: Choose the Right Wallplug
- Select a wallplug from the STAR PACK that matches the size of your screw.
- Consider the weight of the object you are hanging and the type of wall for choosing the right wallplug.
Step 3: Mark the Spot
- Use a measuring tape and pencil to mark the exact spot on the wall where you want to insert the wallplug.
- Double-check the alignment and position before proceeding.
Step 4: Drill the Hole
- Select a drill bit that matches the size of your wallplug.
- Carefully drill a hole into the wall at the marked spot.
- Ensure the hole depth is appropriate for the length of the wallplug.
Step 5: Insert the Wallplug
- Insert the wallplug into the drilled hole.
- Gently tap it with a hammer if necessary to ensure it is flush with the wall.
Step 6: Secure the Screw
- Place the screw into the wallplug.
- Use a screwdriver to tighten the screw until it is securely fastened.
Step 7: Test the Installation
- Gently pull on the screw to ensure it is firmly installed.
- Hang or mount your object on the secured screw.
By following these steps, you should be able to successfully use the STAR PACK 55 Assorted Sizes & Colours Wallplug for your DIY projects.
2 reviews for STAR PACK 55 VARIETY OF SIZES & COLORS WALL PLUGS
Loading...
Product Location
-

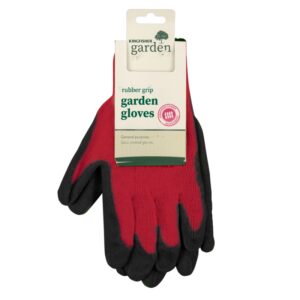
Garden Gloves with Large Rubber Grip
£0.79 Add to basket Compare -

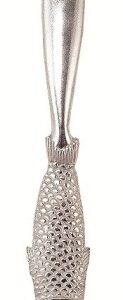
Aluminum Fish Scaler by TALA
£2.52 Add to basket Compare -
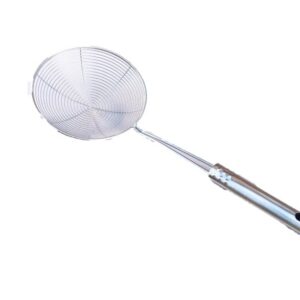
9-Inch Wire Chip Basket
£1.42 Add to basket Compare -
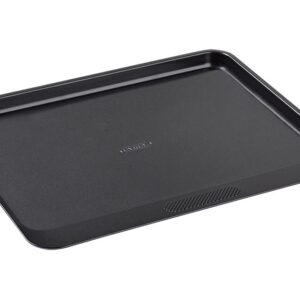
33CM Non-Stick Pyrex Magic Baking Tray
£5.23 Add to basket Compare -
Glade Fresh Linen Scent Gel Air Freshener 150g
£1.16 Add to basket Compare -
SECURPLUMB U9756 Angled Chrome-Plated Service Valve 15mm x 1/2
£2.04 Add to basket Compare

Related products
-

10-Piece Blackspur Utility Knife Blades – High Carbon Steel
£0.32 Add to basket Compare -
DRAPER EXPERT 38607 1.0MM HIGH-SPEED STEEL DRILL BIT
£0.37 Add to basket Compare -
Securit S6312 Shouldered Cup Hooks, 25mm, Pack of 5 (EB Finish)
£0.43 Add to basket Compare -
Securit S6209 White Hard Wall Picture Hooks, 40mm, Pack of 2
£0.44 Add to basket Compare


Paige (verified owner) –
I am always pleased with the quality of the products I receive. This wholesaler has consistently provided great service and fast delivery.
Natalie (verified owner) –
Amazing experience with this wholesaler. The products are exactly what I needed, and the service was fast and efficient. I will be back for more!