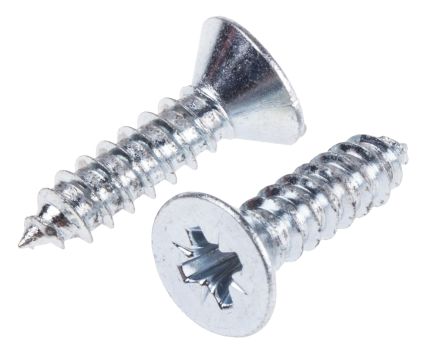
Star Pack 27 Pozi Pan BZP Self-Tapping Screws 8 x 3/4”
£0.76
Sold by: Good Office SuppliesLast updated on January 5, 2025 2:50 am Details
Compare
Report Abuse
Description
How to Use Self Tapping Screws
Introduction
Self tapping screws are designed to tap their own hole as they are driven into materials such as metal, wood, or plastic. The following guide will help beginners understand how to use these screws effectively.
Tools Required
- Drill or Screwdriver
- Appropriate Drill Bit (if pre-drilling is necessary)
- Safety Goggles
- Measuring Tape or Ruler
- Pencil or Marker for Marking
Step-by-Step Instructions
Step 1: Select the Right Screw
- Determine the material you are working with (metal, wood, or plastic).
- Choose the appropriate size and type of self tapping screw for your project.
Step 2: Prepare the Material
- Mark the spot where you intend to insert the screw with a pencil or marker.
- If required, use a drill to make a pilot hole slightly smaller than the diameter of the screw.
Step 3: Insert the Screw
- Place the tip of the self tapping screw on the marked spot or pilot hole.
- Using a screwdriver or drill with the correct bit, slowly begin driving the screw into the material.
- Apply consistent pressure to ensure the screw taps its own path into the material.
Step 4: Secure the Screw
- Tighten the screw until the head is flush with the surface of the material.
- Be careful not to overtighten, as this can strip the screw or damage the material.
Safety Tips
- Always wear safety goggles to protect your eyes from debris.
- Ensure the workspace is clean and free from obstructions.
Troubleshooting
- If the screw does not drive in smoothly, stop and adjust the angle or check the size of the pilot hole.
- For harder materials, consider using a lubricant on the screw thread.
Conclusion
Self tapping screws are versatile and efficient fasteners ideal for various materials. By following these simple instructions, beginners can confidently use self tapping screws in their projects.
5 reviews for Star Pack 27 Pozi Pan BZP Self-Tapping Screws 8 x 3/4”
Loading...
Product Location
-
Set of 6 Lined Shopping Pads, 75 x 210 mm
£0.74 Add to basket Compare -
SUNNEX 375ML Vinegar Bottles, Set of 4
£7.14 Add to basket Compare -
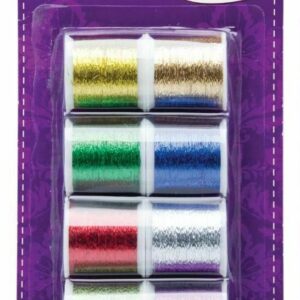
Pack of 8 Metallic Threads
£0.74 Add to basket Compare -
BEGNO Multi-Color PEVA Polyester Shower Curtain, 180cm x 180cm
£4.24 Add to basket Compare -
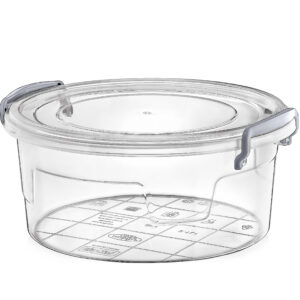
HOBBY LIFE 3.4 LITER ROUND MULTIFUNCTIONAL STORAGE CONTAINER
£1.65 Add to basket Compare -
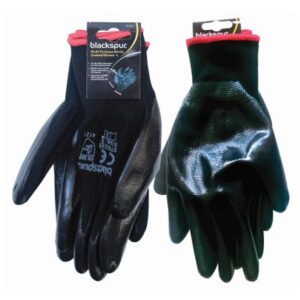
Large Blackspur Nitrile-Coated Multi-Purpose Gloves
£0.65 Add to basket Compare







Eshal (verified owner) –
This wholesaler never disappoints! The products are always exactly what I need, and the service is always reliable and prompt.
Sabah (verified owner) –
The customer service from this wholesaler is outstanding, and the product quality is second to none. I will definitely be back for future orders.
Nadia (verified owner) –
A great place to shop! The products were fantastic, and the wholesaler’s service was impeccable. I’m happy with my purchase.
Yaminah (verified owner) –
Very happy with my purchase from this wholesaler. The products arrived promptly, and the quality was exactly what I expected.”
Paul (verified owner) –
I’ve been buying from this wholesaler for a while now, and I’m always impressed with the products and the level of service they provide.