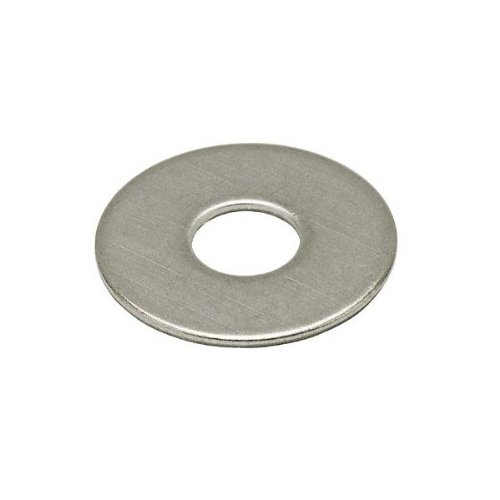
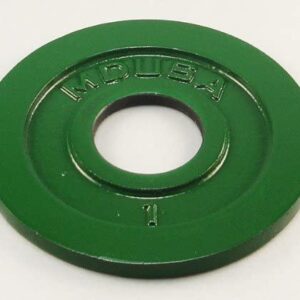
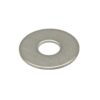
STAR PACK 22 PENNY REPAIR WASHERS, 20MM WITH 6MM HOLE
How to Use the STAR PACK 22 Penny Repair Washer
Introduction
The STAR PACK 22 Penny Repair Washer is designed to distribute the load of a threaded fastener, such as a screw or nut. It is ideal for use in applications where a larger bearing surface is required.
Required Tools and Materials
- STAR PACK 22 Penny Repair Washer
- Appropriate size bolt or screw
- Wrench or screwdriver (depending on the fastener type)
- Protective gloves (optional)
Step-by-Step Instructions
- Prepare the Surface: Ensure that the surface where you will be using the washer is clean and free from debris.
- Select the Correct Fastener: Choose a bolt or screw that fits the 6mm hole of the washer.
- Position the Washer: Place the STAR PACK 22 Penny Repair Washer over the hole where the fastener will be inserted. The larger surface area should face the material to distribute the load effectively.
- Insert the Fastener: Align the bolt or screw with the washer hole and the corresponding hole in the material.
- Tighten the Fastener: Use a wrench or screwdriver to tighten the bolt or screw, ensuring that the washer remains properly positioned.
- Check for Stability: Once tightened, check to ensure that the washer is evenly seated and the fastener is secure.
Safety Tips
- Always wear protective gloves to prevent injury when working with sharp or heavy materials.
- Ensure the fastener is compatible with the washer hole size to avoid damage.
Troubleshooting
- Washer Slippage: If the washer slips during tightening, make sure it is properly aligned and check for any obstructions.
- Loose Fastener: If the fastener becomes loose after tightening, confirm that the threads are not stripped and the washer is correctly positioned.
Conclusion
By following these instructions, you can effectively use the STAR PACK 22 Penny Repair Washer to provide additional support and load distribution in your projects.
Loading...
Product Location
-
£3.85




Reviews
There are no reviews yet.