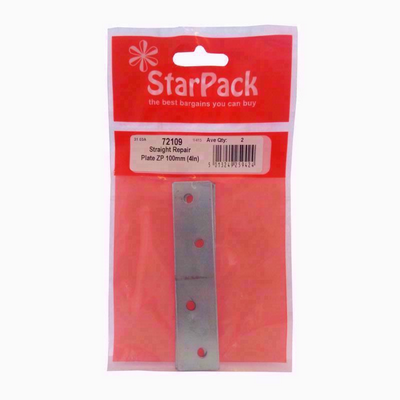
Star Pack 2 Straight Repair Plate BZP 100mm
£0.76
Last updated on January 27, 2025 1:09 am Details
Out of stock
Email when stock available

Description
How to Use the STAR PACK 2 REPAIR PLATE STRAIGHT BZP 100MM
Introduction
The STAR PACK 2 REPAIR PLATE STRAIGHT BZP 100MM is designed for repairing and reinforcing wooden structures. Follow the steps below to ensure proper installation and use.
Tools Required
- Drill
- Screwdriver
- Measuring tape
- Marker or pencil
- Screws (appropriate size for the plate and surface)
Step-by-Step Instructions
1. Prepare the Area
- Identify the area where the repair plate will be installed.
- Ensure the surface is clean and free from debris.
2. Position the Repair Plate
- Use a measuring tape to find the exact position where the plate needs to be placed.
- Align the plate straight along the surface.
- Mark the screw holes with a marker or pencil.
3. Drill Holes
- Using a drill, carefully drill holes at the marked locations.
- Ensure the holes are drilled to the appropriate depth for the screws.
4. Secure the Plate
- Place the repair plate over the drilled holes.
- Insert screws into each hole and tighten using a screwdriver.
- Ensure the plate is firmly secured to the surface.
Safety Tips
- Always wear safety goggles when using power tools.
- Ensure your hands are kept clear of the drill and screws during installation.
- Double-check that the plate is securely fastened before use.
Maintenance
Regularly check the repair plate to ensure it remains securely fastened and free from rust or damage. Tighten any loose screws as needed.
3 reviews for Star Pack 2 Straight Repair Plate BZP 100mm
Loading...
Vendor Information
- Store Name: Good Office Supplies
- Vendor: Good Office Supplies
- No ratings found yet!
Product Location
32 The Broadway, Ealing, Greenford, UB6 9PT, United Kingdom-

Royal Blue 8 Inch/20cm Tissue Paper Honeycomb Pom Poms for Unique Parties
£1.09 Read more -
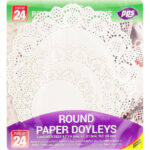
PPS Mixed Round Paper Doilies, Pack of 24
£0.69 Add to basket -
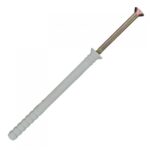
FAST PAK VALUE 1819 M6 X 40 NYLON HAMMER FIXINGS, PACK OF 8
£0.65 Add to basket -
WHAM CASA 36CM NAVY BLUE ROUND BOWL
£1.62 Add to basket -
WHITEFURZE LARGE 31 CM ROUND BOWL IN BLACK
£1.56 Add to basket -
European Travel Adapter by STATUS
£0.94 Add to basket


Robert (verified owner) –
I’ve bought several products, and I couldn’t be happier. Quality is always amazing, and the wholesaler’s team is always responsive and helpful.
Gwen (verified owner) –
I’m always amazed by the quality of the products and the speed of delivery. This wholesaler is a reliable source for my business.
Ghaazi (verified owner) –
This wholesaler never disappoints! The products are always exactly what I need, and the service is always reliable and prompt.