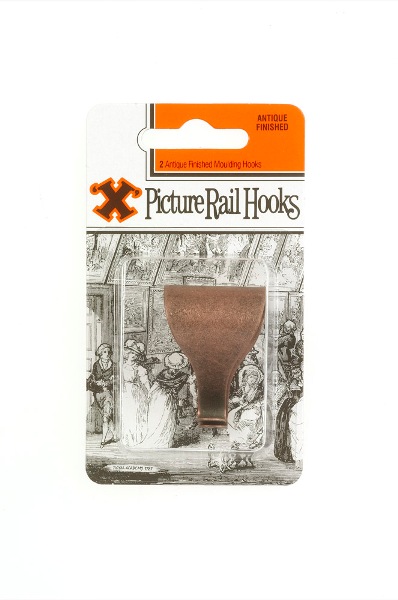
SHAW X Antique Finish Picture Rail Hanging Molding Hooks, Pack of 2
£1.27
Last updated on February 20, 2025 10:48 am Details
Report Abuse

Description
How to Use SHAW X Antique Finished Picture Rail Hanging Moulding Hooks
Step 1: Prepare Your Tools and Materials
- SHAW X Antique Finished Picture Rail Hanging Moulding Hooks (2 per pack)
- Picture rail or moulding in your home or gallery
- Picture wire or cord (if needed)
- Level (optional)
Step 2: Identify the Picture Rail Location
- Locate the picture rail or moulding where you intend to hang your artwork.
- Ensure the rail is securely mounted to the wall.
Step 3: Attach the Moulding Hooks
- Take one of the moulding hooks from the package.
- Position the hook over the picture rail, ensuring the hook’s opening faces downwards.
- Gently slide the hook onto the rail until it sits securely.
Step 4: Prepare Your Artwork
- If your artwork doesn’t already have a wire or cord, attach one to the back of the frame.
- Ensure the wire or cord is strong enough to support the weight of the artwork.
Step 5: Hang Your Artwork
- Lift your artwork and hang it on the moulding hook using the wire or cord.
- Adjust the position of the artwork to ensure it is level and centered.
Step 6: Final Adjustments
- Use a level to ensure the artwork is perfectly straight, if needed.
- Make any necessary adjustments to the hook or artwork for the desired positioning.
Congratulations!
- Your artwork is now beautifully displayed using the SHAW X Antique Finished Picture Rail Hanging Moulding Hooks.
3 reviews for SHAW X Antique Finish Picture Rail Hanging Molding Hooks, Pack of 2
Loading...
Vendor Information
- Store Name: Good Office Supplies
- Vendor: Good Office Supplies
- No ratings found yet!
Product Location
32 The Broadway, Ealing, Greenford, UB6 9PT, United Kingdom-

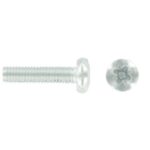
FAST PAK VALUE 4179 M6 X 50 POZI PAN MACHINE SCREWS & NUTS, PACK OF 4
£0.65 Add to basket -
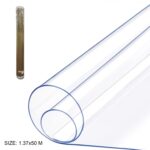
Clear PVC Table Cloth 1.37x50M, ,
£49.50 Add to basket -
Pack of 12 Union Jack Royal Guard Keyrings
£7.14 Add to basket -
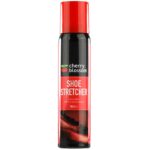
100ML Cherry Blossom Shoe Expander
£3.47 Add to basket -
ANGEL PANTHER HEARTS DESIGN VALENTINE’S DAY WINDOW DECAL
£0.77 Add to basket -
10CM MINI SILVER TROPHY
£0.20 Add to basket


George (verified owner) –
A truly excellent wholesaler! I’ve been a customer for months, and I’ve always received top-quality products and great service.
Azaan (verified owner) –
I can always count on this wholesaler for the best quality products. Delivery is always on time, and the service is very efficient.
Naira (verified owner) –
Absolutely fantastic experience! I’ve been ordering from this wholesaler for a while now, and they consistently deliver top-quality products.”