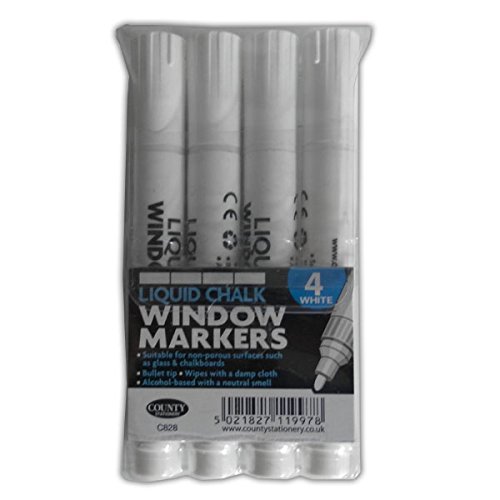
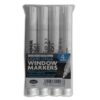
Set of 4 White Liquid Chalk Markers for Windows
How to Use White Liquid Chalk Window Markers
Step 1: Prepare the Surface
- Ensure the surface is clean and dry. Suitable surfaces include glass, mirrors, and non-porous blackboards.
- Wipe the surface with a damp cloth to remove any dust or grease.
Step 2: Activate the Marker
- Shake the marker well with the cap on to mix the liquid chalk.
- Remove the cap and press the tip down on a scrap piece of paper until the ink flows to the tip.
- Repeat if necessary to ensure a consistent flow of ink.
Step 3: Start Writing or Drawing
- Begin writing or drawing on the desired surface. Apply even pressure for smooth lines.
- If you need to correct or remove any marks, use a damp cloth to wipe them away.
Step 4: Store the Marker
- Replace the cap securely to prevent the marker from drying out.
- Store the marker horizontally or vertically with the cap facing up.
Additional Tips
- Test the marker on a small area first to ensure it wipes off easily.
- Use multiple colors for a more vibrant and engaging design.
Loading...











Reviews
There are no reviews yet.