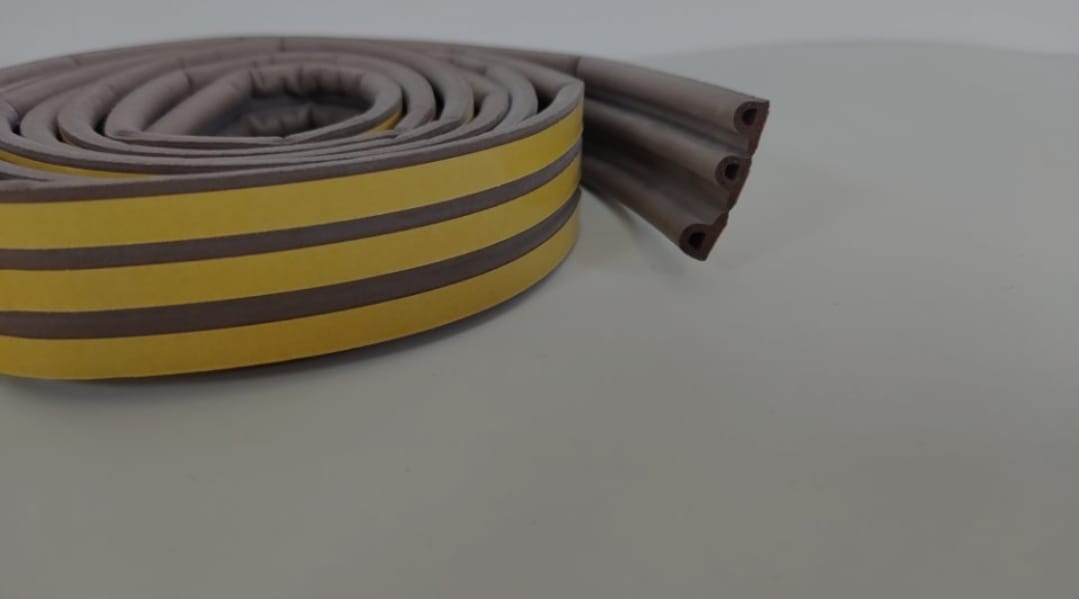
Self-Adhesive EPDM Rubber D-Strip Draught Excluder Tape, 5m – Brown
£1.42
Last updated on January 30, 2025 1:58 pm Details
Report Abuse

Description
How to Use the Self-Adhesive EPDM Rubber D Strip Draught Excluder
Materials Needed
- Self-Adhesive EPDM Rubber D Strip Draught Excluder
- Scissors or a utility knife
- Cleaning cloth
- Ruler or measuring tape
Step-by-Step Instructions
Step 1: Measure the Area
Use a ruler or measuring tape to measure the length of the gaps around doors or windows where you want to apply the draught excluder.
Step 2: Cut the Strip to Size
Using scissors or a utility knife, cut the EPDM rubber strip to the desired length based on your measurements.
Step 3: Clean the Surface
Use a cleaning cloth to thoroughly clean the surface where the draught excluder will be applied. Ensure that the area is dry and free from dust, dirt, and grease for better adhesion.
Step 4: Apply the Strip
- Peel off a small section of the adhesive backing from the strip.
- Carefully align the strip with the measured area.
- Press firmly to ensure the strip sticks well to the surface.
- Continue to peel off the backing and press the strip into place gradually along the entire length.
Step 5: Check the Seal
Inspect the installed strip to ensure it is firmly attached and there are no gaps. Adjust if necessary for a tight seal.
Tips for Best Results
- Ensure the surface is completely dry before applying the strip.
- Apply the strip in temperatures above 10°C for optimal adhesion.
- Avoid stretching the strip during application to maintain its shape and effectiveness.
2 reviews for Self-Adhesive EPDM Rubber D-Strip Draught Excluder Tape, 5m – Brown
Loading...
Vendor Information
- Store Name: Good Office Supplies
- Vendor: Good Office Supplies
- No ratings found yet!
Product Location
32 The Broadway, Ealing, Greenford, UB6 9PT, United Kingdom-

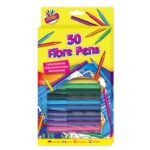
Set of 50 Colored Fiber Pens for Kids’ School Art and Drawing
£1.75 Add to basket -

Crompton SBC 5.5W B15 LED Candle Bulb, 2700K Warm White, Small Bayonet Cap
£1.82 Add to basket -
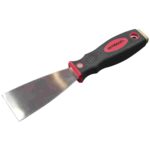
Deluxe Paint Scraper by AM-TECH 2
£1.31 Add to basket -
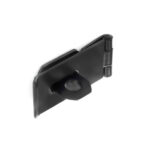
SECURIT S1446 BLACK SAFETY HASP & STAPLE 150MM
£1.31 Add to basket -
SATCO Clear 4oz Round Plastic Microwaveable Pots with Lids, Pack of 800
£26.06 Add to basket -
ORWELL MEDIUM ADJUSTABLE FIT IRONING BOARD COVER, 125 X 45CM
£5.27 Add to basket
Nadia (verified owner) –
This wholesaler has been my go-to for all my supplies. Great prices, excellent quality, and fast shipping. Highly recommend!
Colin (verified owner) –
The quality is always consistent, and delivery is fast. I’m vry pleased with my experiences and will continue to shop with this wholesaler.”