SECURPLUMB SU9939 CLEAR SYPHON DIAPHRAGM WASHER
£1.23
Last updated on April 26, 2025 7:06 am Details
Report Abuse
Description
How to Use the SECURPLUMB SU9939 Syphon Diaphragm Washer Clear
Introduction
The SECURPLUMB SU9939 Syphon Diaphragm Washer Clear is a component designed for use in plumbing systems. Follow the steps below to ensure proper installation and use.
Materials Needed
- SECURPLUMB SU9939 Syphon Diaphragm Washer Clear
- Adjustable wrench
- Clean cloth
- Bowl or bucket (for any water spillage)
Installation Steps
Step 1: Prepare the Area
- Ensure the water supply to the toilet or cistern is turned off.
- Flush the toilet or cistern to remove as much water as possible.
- Place a bowl or bucket under the area to catch any remaining water.
Step 2: Access the Syphon
- Remove the lid from the cistern carefully and place it aside.
- Locate the syphon mechanism within the cistern.
Step 3: Remove the Old Diaphragm Washer
- Detach the syphon from the cistern if necessary, using an adjustable wrench.
- Locate the old diaphragm washer and remove it carefully.
Step 4: Install the New Diaphragm Washer
- Place the new SECURPLUMB SU9939 syphon diaphragm washer in the correct position on the syphon.
- Ensure it is seated properly and securely.
Step 5: Reassemble and Test
- Reattach the syphon mechanism if it was removed, ensuring all connections are tight.
- Turn the water supply back on.
- Allow the cistern to fill and check for any leaks.
- Flush the toilet or cistern to test the new washer’s performance.
Conclusion
By following these steps, you should be able to successfully replace the diaphragm washer in your cistern. Ensure regular maintenance checks to keep your plumbing system in optimal condition.
5 reviews for SECURPLUMB SU9939 CLEAR SYPHON DIAPHRAGM WASHER
Loading...
Vendor Information
- Store Name: Good Office Supplies
- Vendor: Good Office Supplies
- No ratings found yet!
Product Location
32 The Broadway, Ealing, Greenford, UB6 9PT, United Kingdom-
COCOMELON STICKER BOOK WITH 50 ASSORTED PIECES
£1.38 Add to basket -
Neon Color Index Markers
£0.76 Add to basket -
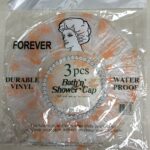
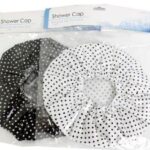
Set of 3 Shower Caps in Various Colors
£0.54 Add to basket -
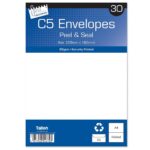
Pack of 30 C5 White Peel & Seal Envelopes by Just Stationery
£0.76 Add to basket -
Colorful Rainbow Ribbons Plastic Birthday Tablecloth, 54 x 84 Inches
£1.20 Add to basket -
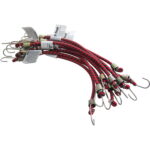
AM-TECH 10×10 Inch Mini Elastic Bungee Cords with Metal Hooks
£1.53 Add to basket



Shakira (verified owner) –
Great experience with this wholesaler. Their products are fantastic, and their customer service is quick to respond and help with anything.
Ezzah (verified owner) –
I’ve made several purchases from this wholesaler and have always been satisfied. The products are great quality, and shipping is fast.
Jessica (verified owner) –
This wholesaler’s products are always high-quality, and I appreciate their attention to detail when it comes to packaging and shipping.
Shahid (verified owner) –
This wholesaler has never let me down. The products I receive are always of the highest quality, and delivery is always on time.
Qiraat (verified owner) –
The customer service from this wholesaler is outstanding, and the product quality is second to none. I will definitely be back for future orders.