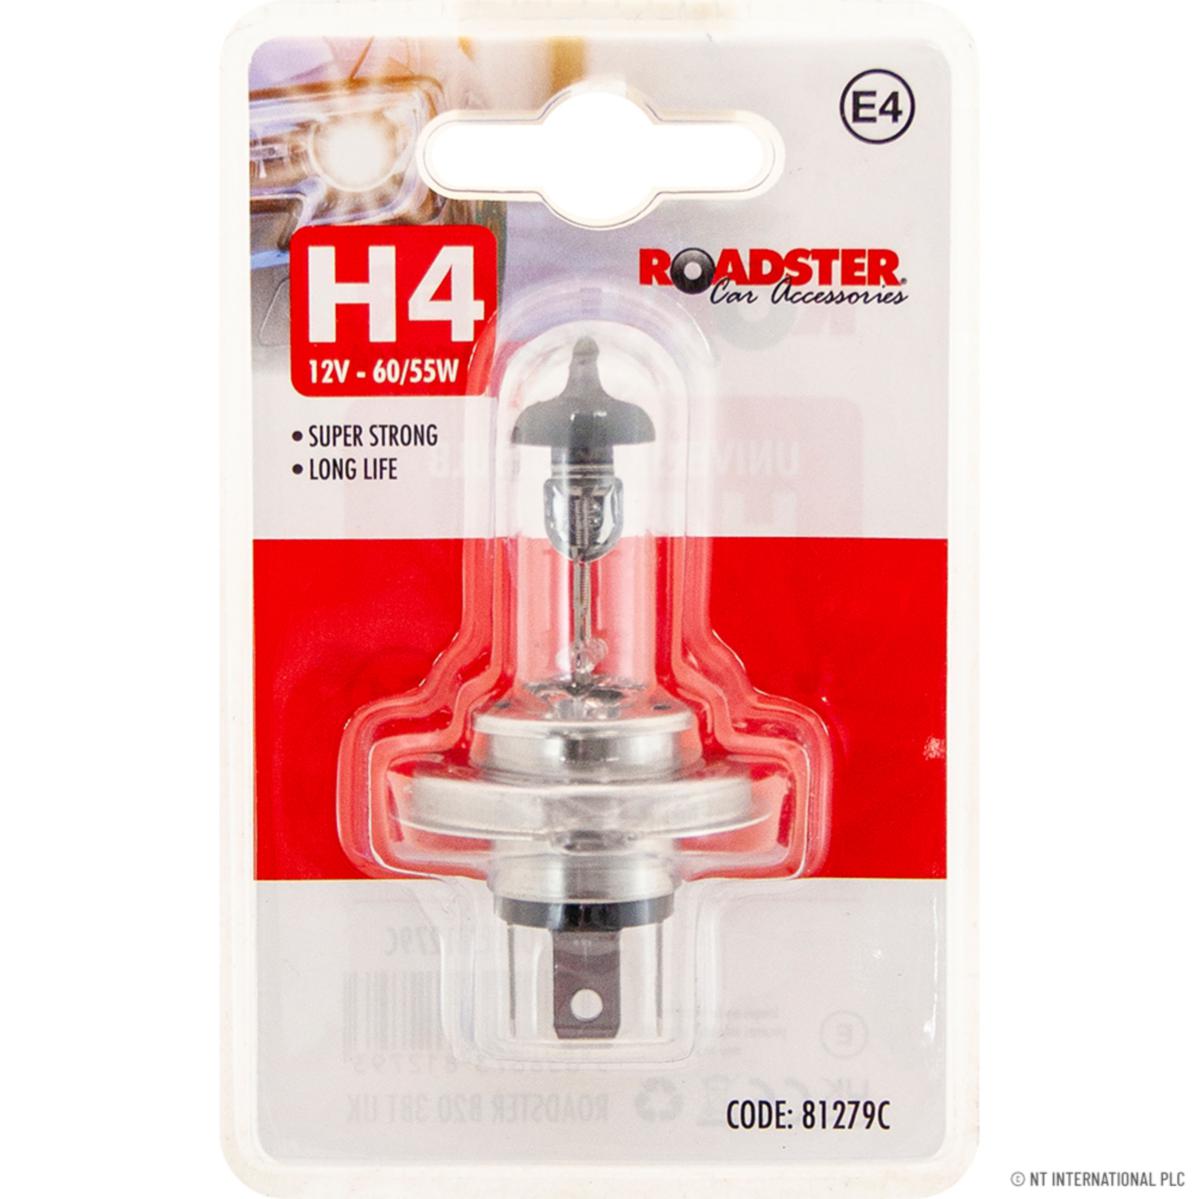
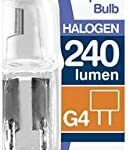
ROADSTER H4 12V 55/60W 472 3-Pin Halogen Automotive Bulb/Lamp
£1.38
Last updated on January 5, 2025 7:32 am Details
Report Abuse

Description
How to Use the ROADSTER H4 12V 55/60W 472 3 PIN HALOGEN CAR BULB
Step 1: Gather Necessary Tools
- Screwdriver (if required for your car model)
- Gloves (optional, to avoid fingerprints on the bulb)
Step 2: Ensure Safety
- Turn off the engine and remove the key from the ignition.
- Ensure the headlights are switched off and cool to touch.
Step 3: Access the Headlight Bulb
- Open the hood of your car.
- Locate the back of the headlight assembly.
- Remove any covers or clips securing the bulb in place.
Step 4: Remove the Old Bulb
- Carefully disconnect the wiring harness from the old bulb.
- Twist and remove the old bulb from the socket.
Step 5: Install the New Bulb
- Handle the new halogen bulb by its base, avoiding contact with the glass.
- Insert the new bulb into the socket, ensuring it is securely in place.
- Reconnect the wiring harness to the new bulb.
Step 6: Test the Bulb
- Switch on the headlights to ensure the new bulb is functioning properly.
Step 7: Reassemble the Headlight Assembly
- Replace any covers or clips that were removed.
- Close the hood of your car.
Additional Tips
- Avoid touching the glass part of the halogen bulb with bare hands to prevent damage.
- If the bulb does not light up, check the connection and ensure the bulb is properly installed.
4 reviews for ROADSTER H4 12V 55/60W 472 3-Pin Halogen Automotive Bulb/Lamp
Loading...
Vendor Information
- Store Name: Good Office Supplies
- Vendor: Good Office Supplies
- No ratings found yet!
Product Location
32 The Broadway, Ealing, Greenford, UB6 9PT, United Kingdom-

Garlic Peeler Made of Silicone
£0.85 Add to basket -
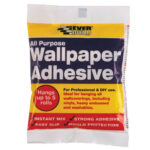
EVERBUILD MULTI-PURPOSE WALLPAPER ADHESIVE FOR HANGING UP TO 5 ROLLS
£1.20 Add to basket -
2 Pairs of Attractive Adhesive Bras
£1.09 Add to basket -
PRIMA 30CM NON-STICK CONCAVE TAWA
£8.24 Add to basket -
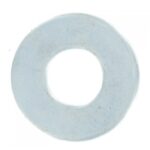
FAST PAK VALUE 0676 Zinc M8 Steel Washers – Pack of 40
£0.65 Add to basket -
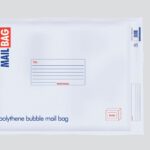
COUNTY Jumbo Polythene Bubble Bags 500 x 650mm, Pack of 10
£15.94 Add to basket


Yaseer (verified owner) –
I always choose this wholesaler for my supplies. The quality of the products is outstanding, and their service is always reliable.
Lily (verified owner) –
I’ve been purchasing from this wholesaler for months, and I’ve never been disappointed. The products are fantastic, and delivery is always quick.
Zainab (verified owner) –
This was my first time ordering from this wholesaler, and it won’t be my last. The products are amazing, and the service is outstanding.
Wahib (verified owner) –
Great company to do business with! The products are always as expected, and the wholesaler’s delivery is fast and reliable.