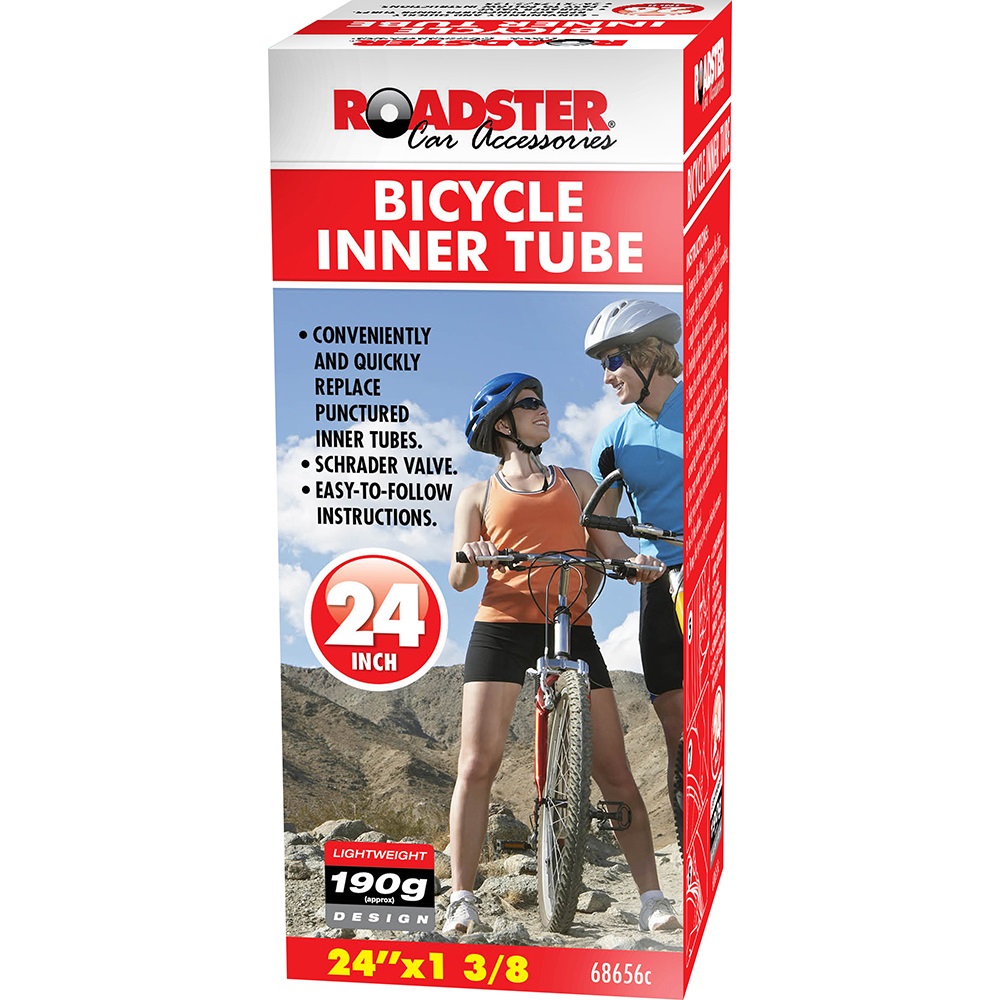
ROADSTER 24″ X 1″ BICYCLE INNER TUBE
£1.42
Last updated on March 26, 2025 1:24 am Details
Report Abuse

Description
How to Use the Roadster Bicycle Inner Tube 24″ x 1″
Step 1: Gather Necessary Tools
- Roadster Bicycle Inner Tube 24″ x 1″
- Bicycle tire levers
- Bicycle pump
- Patch kit (optional, in case of punctures)
Step 2: Remove the Tire
- Flip your bicycle upside down so it rests on the handlebars and seat.
- Use the tire levers to gently pry the tire away from the rim.
- Remove the tire completely if necessary to access the inner tube.
Step 3: Remove the Old Inner Tube
- Deflate the old inner tube completely if it’s still inflated.
- Carefully pull the valve out of the wheel rim.
- Remove the inner tube from inside the tire.
Step 4: Install the New Inner Tube
- Partially inflate the new inner tube to give it some shape.
- Insert the valve through the hole in the rim.
- Gently place the tube inside the tire, ensuring it’s not twisted or pinched.
Step 5: Reattach the Tire
- Fit one side of the tire back onto the rim.
- Push the other side of the tire onto the rim, starting opposite the valve.
- Ensure the tube is not caught between the tire and the rim.
Step 6: Inflate the Tire
- Use the bicycle pump to inflate the tire to the recommended pressure.
- Check to make sure the tire is seated properly on the rim.
- Ensure the valve is secure.
Step 7: Check Installation
- Inspect the tire for any bulges or uneven areas.
- Ensure the wheel spins freely without wobbling.
- Test by riding a short distance to confirm proper installation.
Additional Tips
- Keep a patch kit handy for emergency repairs.
- Regularly check tire pressure for optimal performance.
2 reviews for ROADSTER 24″ X 1″ BICYCLE INNER TUBE
Loading...
Vendor Information
- Store Name: Good Office Supplies
- Vendor: Good Office Supplies
- No ratings found yet!
Product Location
32 The Broadway, Ealing, Greenford, UB6 9PT, United Kingdom-

SECURIT S5416 White Double-Sided Self-Adhesive Tabs, 12x25mm
£0.96 Add to basket -

Tiger White Ruled Index Cards 6×4 Inches, Pack of 100
£0.87 Add to basket -
BARBIE EXPLOSION OF STICKERS BOOK
£2.41 Add to basket -
STAR PACK 8 CURTAIN GLIDER COMPATIBLE WITH DECORAIL
£0.76 Add to basket -
Set of 25 Square Wooden Plates, 40ml Capacity, 8cm x 8cm x 2cm
£5.79 Add to basket -
County Medium Post Mailbox 350 x 250 x 160 mm
£1.16 Add to basket


Brian (verified owner) –
The quality of the products I received was outstanding, and the shipping was fast. I will be a returning customer for sure.
Izma (verified owner) –
I’ve had great experiences with this wholesaler. The products are always fantastic, and the service is very reliable.