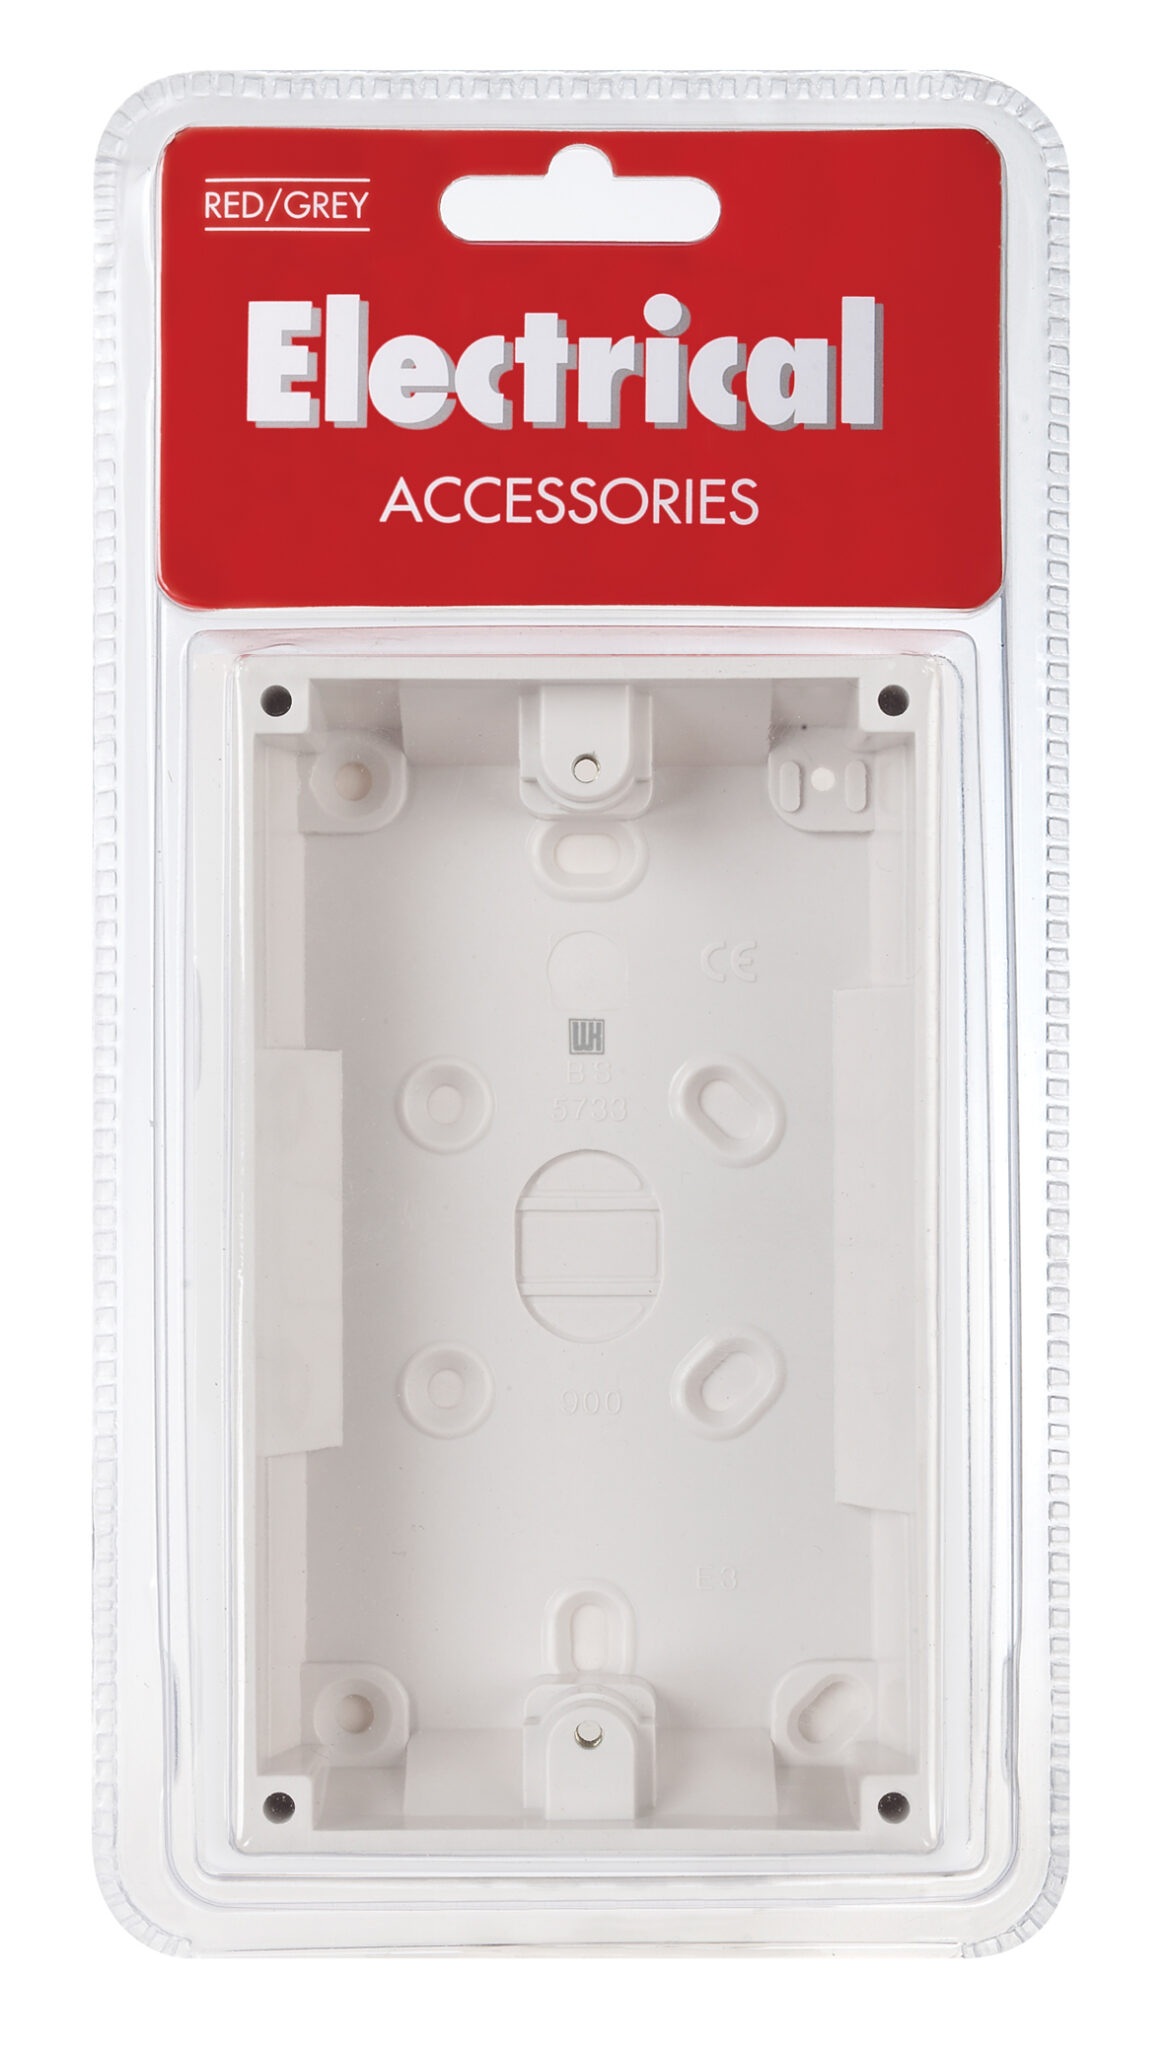
Red Grey B21P Twin 2 Gang Surface Mounted Wall Back Box/Pattress
£1.75
Last updated on October 26, 2025 1:44 am Details
Report Abuse
Description
How to Use the RED GREY B21P TWIN 2 GANG SURFACE MOUNTED BACK / WALL PATTRESS BOX
Introduction
This guide will help you understand how to install and use the RED GREY B21P TWIN 2 GANG SURFACE MOUNTED BACK / WALL PATTRESS BOX.
Tools Required
- Screwdriver
- Drill (optional, for wall mounting)
- Measuring tape
- Pencil or marker
Installation Steps
Step 1: Choose the Location
- Select a suitable location where you want to install the pattress box.
- Ensure the surface is even and can support the weight of the box and any attached devices.
Step 2: Mark the Drill Points
- Use a measuring tape to mark the exact position on the wall where the box will be mounted.
- With a pencil or marker, mark the points where screws will be drilled.
Step 3: Drill Holes
- If necessary, use a drill to create holes at the marked points.
- Ensure holes are drilled straight to securely hold the screws.
Step 4: Mount the Pattress Box
- Align the pattress box with the drilled holes.
- Use a screwdriver to insert screws and secure the box firmly to the wall.
Step 5: Attach Devices
- Connect any required electrical devices or plates to the mounted pattress box.
- Ensure all connections are secure and comply with safety standards.
Safety Precautions
- Ensure all electrical connections are made by a qualified electrician.
- Double-check that the power is turned off before making any electrical connections.
- Wear appropriate safety gear while drilling or handling electrical components.
Troubleshooting
- If the box is loose, ensure screws are tightened properly.
- If the device does not fit, verify the dimensions and compatibility.
Conclusion
Following these steps will help you successfully install and use the RED GREY B21P TWIN 2 GANG SURFACE MOUNTED BACK / WALL PATTRESS BOX safely and effectively.
6 reviews for Red Grey B21P Twin 2 Gang Surface Mounted Wall Back Box/Pattress
Loading...
Vendor Information
- Store Name: Good Office Supplies
- Vendor: Good Office Supplies
- No ratings found yet!
Product Location
32 The Broadway, Ealing, Greenford, UB6 9PT, United Kingdom-
APOLLO WOODEN WALL-MOUNTED TOWEL HOLDER
£6.44 Add to basket -
HARRIS HIGH-QUALITY FLAT ARTIST PAINT BRUSH SET – PACK OF 10
£2.04 Add to basket -
3 Tier Indoor Cloth Airer, ,
£56.10 Add to basket -
Exclusive Pink Glitz Number 4 Foil Balloon for Birthdays, 34 Inches
£1.64 Add to basket -
Neon Color Index Markers
£0.76 Add to basket -
Mastercook Aluminum Casserole with Lid, Size No. 5, 28cm / 9.7L
£12.42 Add to basket





Omair (verified owner) –
I’ve bought from many wholesalers, but none have compared to this one. The quality of their products is exceptional, and they always deliver on time.
Naira (verified owner) –
The products I’ve purchased are top-notch. The wholesaler always ensures quick shipping and excellent customer service. Highly recommend!
Rachel (verified owner) –
I always choose this wholesaler for my supplies. The quality of the products is outstanding, and their service is always reliable.
George (verified owner) –
Highly recommend this wholesaler! Fast shipping, reliable products, and excellent customer service. I will definitely be back for more.
Ilyas (verified owner) –
Excellent service! I’ve never had an issue with any of my orders. The products are always high quality, and the wholesaler’s team is always helpful.
Madison (verified owner) –
I’ve ordered multiple products and have been impressed every single time. Quick processing, great prices, and high-quality goods!