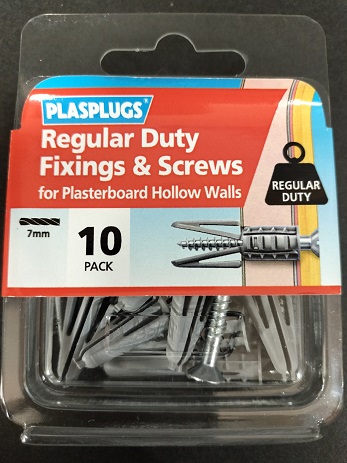
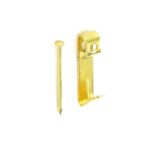
PLASPLUGS Standard Plasterboard Anchors & Screws Pack of 10
£1.49
Last updated on February 27, 2025 2:19 am Details
Report Abuse

Description
How to Use PLASPLUGS Regular Duty Plasterboard Fixings & Screws
Introduction
This guide will help you understand how to use PLASPLUGS Regular Duty Plasterboard Fixings & Screws effectively. These fixings are designed for mounting objects onto plasterboard surfaces.
Materials Needed
- PLASPLUGS Regular Duty Plasterboard Fixings & Screws (10/PK)
- Drill
- Drill bit suitable for plasterboard
- Screwdriver
- Pencil
- Measuring tape
Step-by-Step Instructions
Step 1: Plan and Mark
- Decide where you want to install the fixings on the plasterboard.
- Use a measuring tape to ensure accurate placement.
- Mark the spots with a pencil where the fixings will be installed.
Step 2: Drill Holes
- Choose a drill bit that is suitable for plasterboard.
- Drill holes at the marked spots. Make sure the holes are the correct size for the fixings.
Step 3: Insert Fixings
- Take a plasterboard fixing and insert it into one of the drilled holes.
- Push the fixing until its flange is flush with the plasterboard surface.
- Repeat for all marked spots requiring fixings.
Step 4: Secure with Screws
- Place the item you want to mount over the fixings.
- Align the holes in the item with the fixings.
- Insert screws through the item’s holes and into the fixings.
- Use a screwdriver to tighten the screws securely.
Conclusion
By following these steps, you can successfully use PLASPLUGS Regular Duty Plasterboard Fixings & Screws to mount items onto plasterboard surfaces. Ensure all components are securely fastened to avoid any accidents.
3 reviews for PLASPLUGS Standard Plasterboard Anchors & Screws Pack of 10
Loading...
Vendor Information
- Store Name: Good Office Supplies
- Vendor: Good Office Supplies
- No ratings found yet!
Product Location
32 The Broadway, Ealing, Greenford, UB6 9PT, United Kingdom-

FAST PAK VALUE 9853 SET OF 8 SPLIT KEY RINGS
£0.65 Read more -
GLAMORIZE Long-Lasting Women’s Hair Dye – Shade No. 6: Golden Brown
£0.87 Add to basket -
Jungle-Themed Sticker Reward Chart
£0.50 Add to basket -
Sara Miller Set of 4 Pink Peony Flower Placemats
£7.14 Add to basket -
14×18 Inch Brown Kraft Paper Food Bags – Pack of 500
£13.63 Add to basket -
BISON 3G SUPER GLUE GEL
£1.31 Add to basket


Ruby (verified owner) –
I’m a regular customer, and I’ve never had an issue with any order. The quality of the products is consistently excellent, and delivery is fast.
Eiman (verified owner) –
So happy with the product! Everything was perfect – quality, delivery, and packaging were all top-notch.
Mason (verified owner) –
I’ve made multiple orders, and every experience has been amazing. The products are high-quality, and the wholesaler always ships quickly.