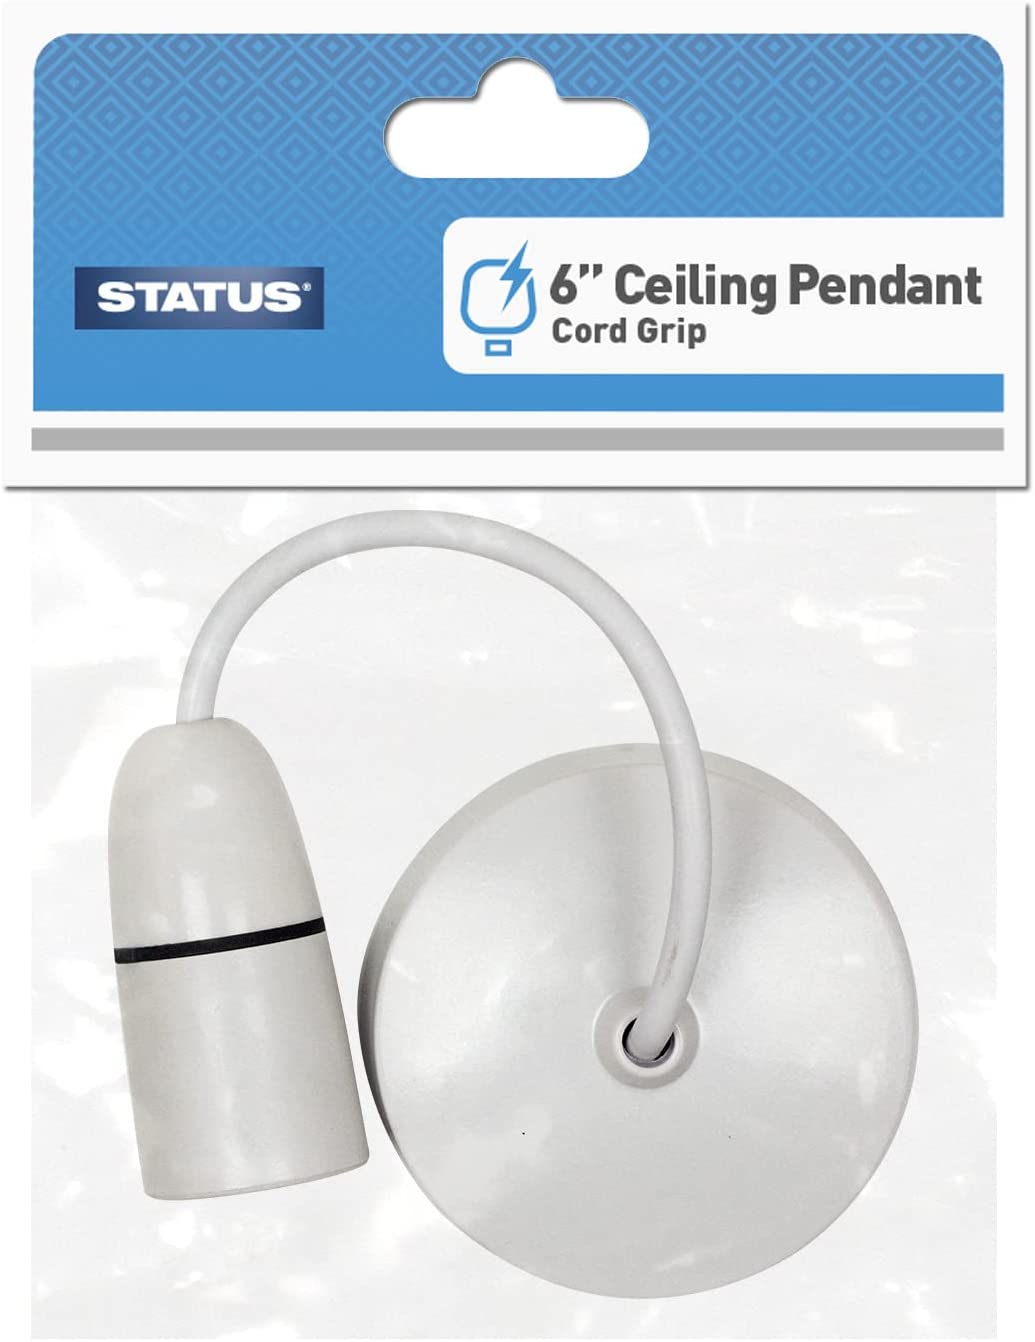
PENDANT CEILING LIGHT WITH B22 BULB SOCKET FITTING – STATUS
£2.00
Last updated on October 26, 2025 1:47 am Details
Report Abuse
Description
How to Use the STATUS Ceiling Light Pendant LA Socket Bulb B22 Fitting 6
Step 1: Safety First
- Ensure the power supply is turned off before beginning the installation.
- Use a sturdy ladder to reach the ceiling safely if necessary.
Step 2: Gather Necessary Tools
- Flathead screwdriver
- Phillips screwdriver
- Insulated wire cutters
- Voltage tester
Step 3: Prepare the Ceiling Light Pendant
- Carefully unpack the ceiling light pendant from its packaging.
- Check that all components are included and undamaged.
Step 4: Install the Ceiling Light Pendant
- Remove the existing light fixture, if applicable.
- Attach the mounting bracket to the ceiling using screws.
- Connect the wires from your ceiling to the pendant light’s wires using wire connectors.
Ensure the live, neutral, and earth wires are correctly matched. - Secure the pendant to the mounting bracket.
Step 5: Install the Bulb
- Insert a B22 bulb into the socket by aligning the bulb’s pins with the slots in the socket and turning it clockwise.
- Ensure the bulb is securely in place.
Step 6: Test the Installation
- Turn the power supply back on.
- Switch on the light to test if it is functioning correctly.
- If the light does not turn on, switch off the power and double-check your connections.
Step 7: Final Adjustments
- Adjust the length of the pendant, if applicable, to your desired height.
- Ensure the light fixture is stable and secure.
Troubleshooting
- If the light flickers, check the bulb and socket connection.
- If the light does not turn on, verify all wiring connections are secure and correct.
2 reviews for PENDANT CEILING LIGHT WITH B22 BULB SOCKET FITTING – STATUS
Loading...
Vendor Information
- Store Name: Good Office Supplies
- Vendor: Good Office Supplies
- No ratings found yet!
Product Location
32 The Broadway, Ealing, Greenford, UB6 9PT, United Kingdom-
COUNTY GOLD BUBBLE MAILERS B 120MM X 215MM PACK OF 10
£1.16 Add to basket -
Hobby Life Magic Reusable Plastic Spoons, Assorted Colors, Pack of 6
£0.76 Add to basket -
GSD Large Gold Number 8 Standing Foil Balloon – 86cm
£0.94 Read more -
DEKTON 6-Inch/150mm Hook and Loop Sanding Discs, 40 Grit, Pack of 5
£0.87 Add to basket -
AMTECH 6-INCH / 150MM STALL CLIP
£0.72 Add to basket -
Set of 25 Black Dinner Candles
£9.89 Add to basket








Olivia (verified owner) –
I’ve bought from many wholesalers, but none have compared to this one. The quality of their products is exceptional, and they always deliver on time.
Madiha (verified owner) –
I couldn’t be happier with this wholesaler. The customer service is outstanding, and the products I received are of excellent quality. Highly recommended!