
Description
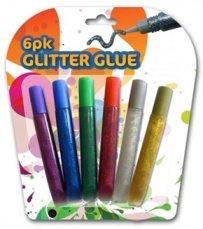
How to Use 6PK Glitter Glue
Materials Needed
- 6PK Glitter Glue (Gold, Silver, Purple, Blue, Green, Red)
- Paper or desired project surface
- Pencil or pen (optional for sketching)
- Paintbrush or spatula (optional for spreading)
- Protective covering for workspace (optional)
Preparation
- Choose the surface you want to decorate with glitter glue. It can be paper, cardboard, or any craft surface.
- If necessary, cover your workspace with protective material to avoid any spills or stains.
- Optionally, sketch your design lightly with a pencil to use as a guide.
Application
- Select the color of glitter glue you want to use first.
- Unscrew the cap of the glitter glue tube.
- Squeeze the tube gently to apply the glue to your desired area or design.
- If you want to spread the glue evenly, use a paintbrush or spatula.
- Repeat the process with other colors as needed to complete your design.
Drying
- Allow the glitter glue to dry completely before handling your project. This may take several hours depending on the thickness of the application.
- For faster drying, place your project in a well-ventilated area.
Cleanup
- Replace the caps on all glitter glue tubes to prevent them from drying out.
- Clean any excess glue on brushes or tools with warm water before it dries.
Tips for Best Results
- Test the glitter glue on a scrap piece of paper to practice control and pressure before applying it to your final project.
- Combine different colors to create unique effects and patterns.
- Use sparingly for a subtle glitter effect, or apply more generously for a bolder look.
- Store glitter glue in a cool, dry place when not in use.
2 reviews for Pack of 6 Glitter Glues
Loading...
Vendor Information
- Store Name: Good Office Supplies
- Vendor: Good Office Supplies
- No ratings found yet!
Product Location
32 The Broadway, Ealing, Greenford, UB6 9PT, United Kingdom-

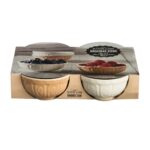
Mason Cash Cane 175ml Food Preparation Bowls, Pack of 4
£5.38 Add to basket -
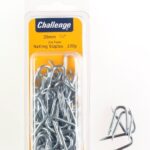
Challenge 20mm Zinc-Plated Netting Staples, 100g
£0.98 Add to basket -
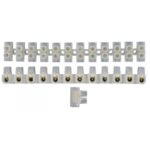
FAST PAK VALUE 3677 5AMP STRIP CONNECTOR, PACK OF 12 (12 PCS)
£0.65 Add to basket -
TTZ Pearl Soap Box with Various Colors
£0.72 Add to basket -
DOFF ADVANCE CONCENTRATED WEED KILLER 80ML, PACK OF 3
£3.43 Add to basket -

86CM Gold Giant Number 7 Standing Foil Balloon by GSD
£0.94 Add to basket


Habeeba (verified owner) –
Absolutely fantastic experience! I’ve been ordering from this wholesaler for a while now, and they consistently deliver top-quality products.”
Manzoor (verified owner) –
This wholesaler is by far the best I’ve worked with. The products are always of high quality, and I appreciate their attention to detail in packaging.