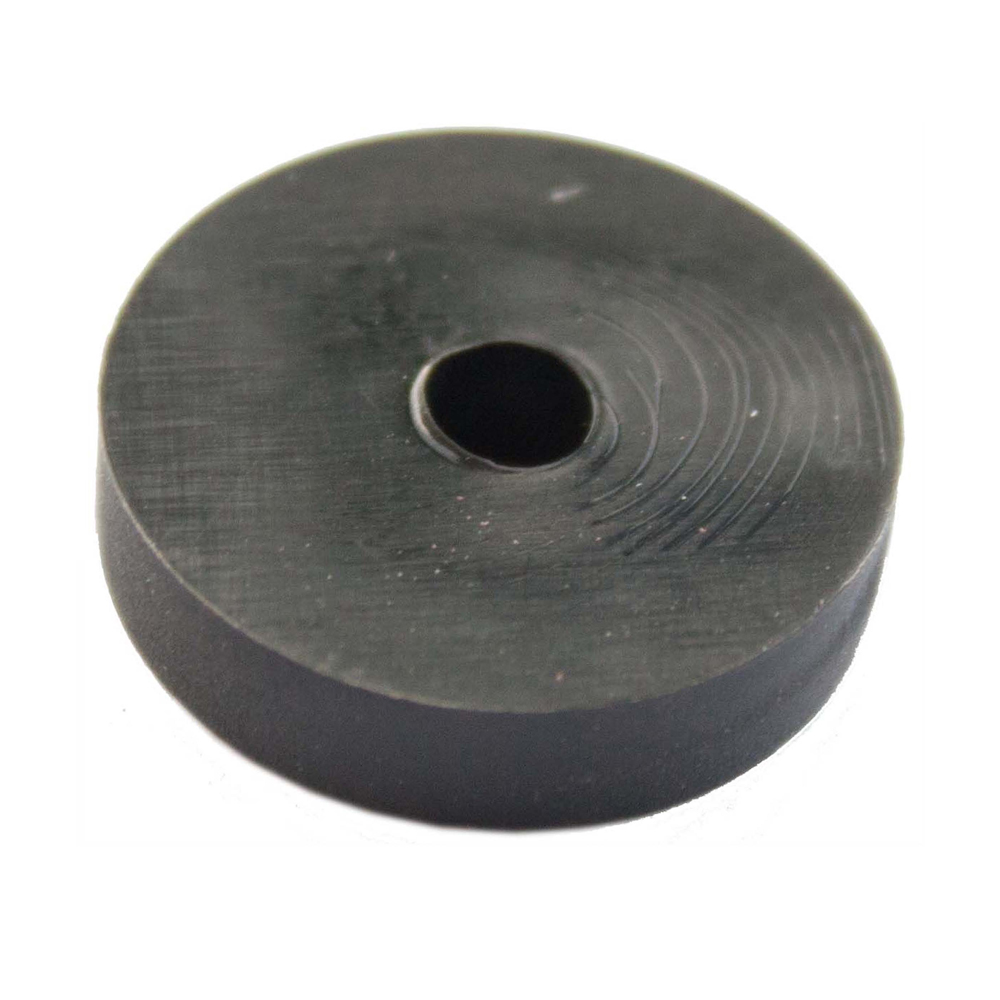
ORACSTAR PPW10 5/8 WRC Tap Washer, Pack of 2
£0.76
Last updated on November 26, 2025 8:02 am Details
Report Abuse

Description
How to Use the ORACSTAR PPW10 Washer Tap 5/8 WRC 2/PK
Introduction
The ORACSTAR PPW10 Washer Tap is designed for efficient water flow management. This guide provides step-by-step instructions for beginners on how to install and use the washer taps effectively.
Tools and Materials Needed
- Adjustable wrench
- Thread seal tape
- Bucket or towel (to catch any water spillage)
Installation Steps
1. Prepare the Area
- Turn off the water supply to the tap you are replacing or installing.
- Place a bucket or towel under the tap to catch any residual water.
2. Remove the Old Tap (if applicable)
- Use an adjustable wrench to loosen and remove the existing tap.
- Clean the threads of the pipe to remove any debris or old thread seal tape.
3. Install the New Washer Tap
- Wrap the threads of the pipe with thread seal tape to ensure a watertight seal.
- Hand-tighten the new ORACSTAR washer tap onto the pipe.
- Use the adjustable wrench to tighten the tap securely, but do not overtighten to avoid damage.
4. Check for Leaks
- Turn the water supply back on.
- Inspect the area for any leaks. If leaks are present, tighten the connections further as necessary.
Usage Tips
- Regularly inspect the tap for any signs of wear or leaks.
- Replace washers periodically to maintain optimal performance.
- Ensure the tap is tightly closed when not in use to prevent water wastage.
Maintenance
- Clean the tap with a soft cloth to avoid scratches.
- Check for mineral build-up and use a suitable cleaner if necessary.
Conclusion
Following these instructions will help you install and use the ORACSTAR PPW10 Washer Tap effectively, ensuring long-lasting performance. Always ensure the taps are properly maintained for the best results.
2 reviews for ORACSTAR PPW10 5/8 WRC Tap Washer, Pack of 2
Loading...
Vendor Information
- Store Name: Good Office Supplies
- Vendor: Good Office Supplies
- No ratings found yet!
Product Location
32 The Broadway, Ealing, Greenford, UB6 9PT, United Kingdom-

Draper Expert 40825 SDS+ Masonry Drill Bit, 5.0 x 110mm
£1.75 Add to basket -
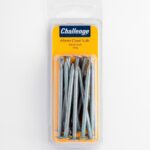
CHALLENGE 65MM GALVANIZED CLOUT NAILS, 225G
£0.98 Add to basket -
SHAW X Nickel-Plated Screw Eyes in Various Sizes
£0.87 Add to basket -

Insulated Stainless Steel Hot Pot, 2500ml Capacity
£6.92 Add to basket -
Women’s Plain Knit Hat with Fold-Over, Pack of 12
£15.39 Add to basket -
CRE8 A4 Black Cardstock, Pack of 15 Sheets
£0.72 Add to basket


Lucas (verified owner) –
The product quality exceeded my expectatios! I will definitely be ordering from this wholesaler again. The service was also exceptional.
Owen (verified owner) –
Great experience! The products are always in excellent condition, and the wholesaler’s communication is second to none.