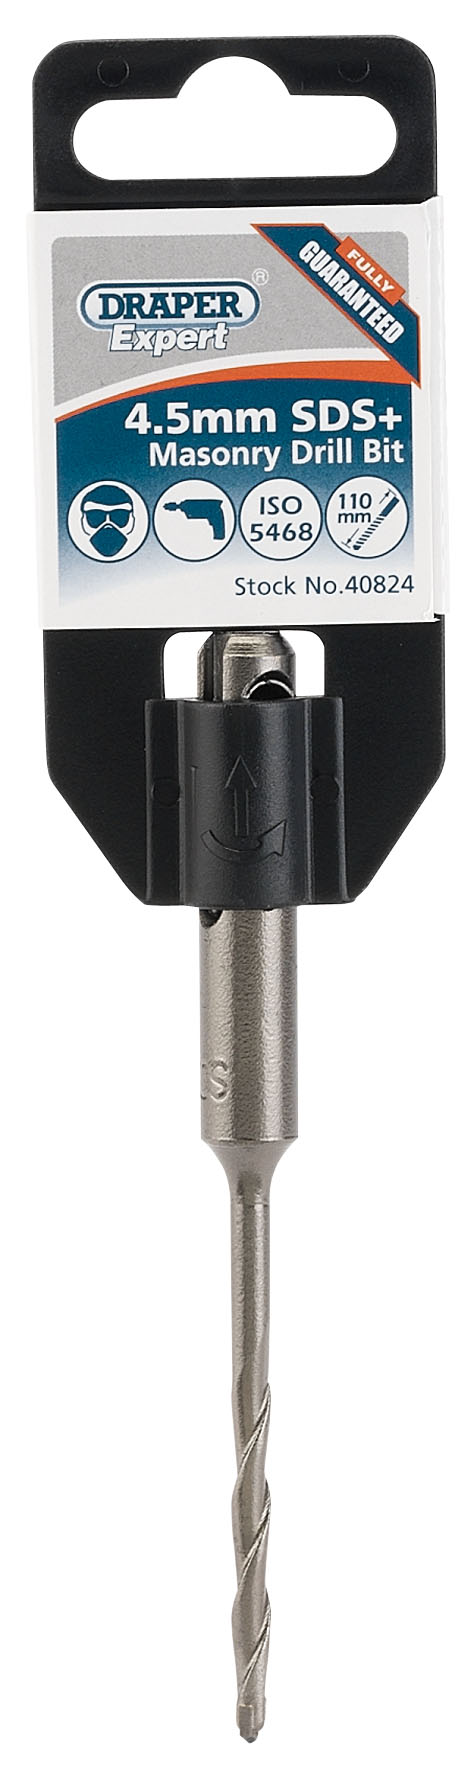
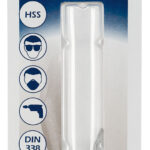
DRAPER EXPERT 40824 SDS+ 4.5 x 110mm Masonry Drill Bit
£1.46
Last updated on August 7, 2025 3:33 am Details
Report Abuse

Description
How to Use the DRAPER EXPERT 40824 4.5 X 110MM SDS+ Masonry Drill Bit
1. Gather Necessary Tools and Safety Equipment
- DRAPER EXPERT 40824 SDS+ Masonry Drill Bit
- SDS+ compatible drill
- Safety goggles
- Dust mask
- Ear protection
- Work gloves
2. Prepare the Drill
- Ensure the drill is powered off and unplugged.
- Attach the SDS+ Masonry Drill Bit to the drill by aligning the bit’s shank with the drill’s chuck.
- Securely lock the bit in place according to your drill’s instructions.
3. Mark the Drilling Area
- Use a pencil or marker to indicate the exact spot where you want to drill.
- Ensure that the surface you are drilling into is suitable for masonry drilling.
4. Set Up Safety Measures
- Put on your safety goggles, dust mask, ear protection, and work gloves.
- Ensure the area is clear of any obstacles or people who may be affected by the drilling.
5. Begin Drilling
- Plug in and power on the drill.
- Position the drill bit perpendicular to the marked spot.
- Start drilling at a slow speed to create an initial guiding hole.
- Increase the speed gradually as you continue to drill deeper into the material.
- Apply steady pressure, but do not force the drill bit into the material.
6. Complete the Task
- Once the desired depth is reached, slowly retract the drill bit from the hole.
- Power off and unplug the drill.
- Carefully remove the drill bit from the drill.
7. Clean Up
- Clear away any dust or debris created during the drilling process.
- Store the drill bit and drill in a safe and dry place.
3 reviews for DRAPER EXPERT 40824 SDS+ 4.5 x 110mm Masonry Drill Bit
Loading...
Vendor Information
- Store Name: Good Office Supplies
- Vendor: Good Office Supplies
- No ratings found yet!
Product Location
32 The Broadway, Ealing, Greenford, UB6 9PT, United Kingdom-

14-Inch Stainless Steel Slotted Turner – Sober Design
£0.83 Add to basket -
Sink Drain Plunger with Plastic Handle and Rubber Suction Head, 11cm in Height
£1.05 Add to basket -
RENTOKIL 300ML FLEA ELIMINATION SPRAY
£2.74 Add to basket -
WHAM Compact Handy Basket – Cool Grey
£0.46 Add to basket -
BOLSIUS TRUE SCENTS VANILLA FRAGRANCE DIFFUSER 45ML
£3.95 Add to basket -
RAID Insect Killer Spray for Flies and Wasps, 300 ML
£2.85 Add to basket


Dinayah (verified owner) –
So happy with the product! Everything was perfect – quality, delivery, and packaging were all top-notch.
Grace (verified owner) –
The products were perfect and the shipping was lightning fast. I couldn’t be more pleased with my experience with this wholesaler.
Bianca (verified owner) –
Top-notch products and incredible service! I will continue to buy from this wholesaler because they never disappoint.