DIY Hamper Wrapping Paper
£1.35
Sold by: Good Office SuppliesLast updated on January 5, 2025 2:29 am Details
Compare
Report Abuse
Description
How to Use “Make Your Own Hamper Paper” for Beginners
Follow these instructions to create a personalized hamper using the “Make Your Own Hamper Paper”. Please note that you must be over 18 to use and purchase this product.
Step 1: Gather Your Materials
- Your “Make Your Own Hamper Paper” kit
- Gift items to include in your hamper (e.g., chocolates, wine, candles)
- Decorative items (e.g., ribbons, bows, tags)
- Scissors
- Tape or glue
Step 2: Prepare Your Workspace
- Clear a flat surface to work on.
- Ensure you have good lighting to see all details clearly.
- Keep all your materials within reach.
Step 3: Assemble Your Hamper Paper
- Unfold the “Make Your Own Hamper Paper” and lay it flat.
- If necessary, trim the paper to suit the size of your hamper.
- Use tape or glue to secure the edges and form a base.
Step 4: Arrange Your Gift Items
- Place larger items at the bottom of the hamper.
- Add smaller items on top or around larger items for balance.
- Ensure all items are securely positioned and visible.
Step 5: Decorate Your Hamper
- Use ribbons and bows to enhance the visual appeal.
- Add personalized tags or cards for a personal touch.
- Ensure decorations do not obstruct the presentation of the gifts.
Step 6: Finalize Your Hamper
- Double-check that all items are securely in place.
- Make any final adjustments to the arrangement or decorations.
- Your custom hamper is now ready to be gifted!
Enjoy creating personalized hampers for any occasion with your “Make Your Own Hamper Paper”.
2 reviews for DIY Hamper Wrapping Paper
Loading...
Product Location
-
Maxi Citronella Tealight Candles, 10-Hour Burn, Pack of 4
£1.27 Add to basket Compare -
TIGER Black A4 Foolscap Box File
£3.40 Add to basket Compare -
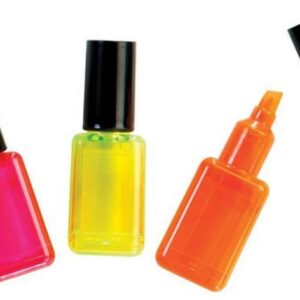
3-Pack Novelty Highlighter Pens Shaped Like Nail Polish Bottles
£0.75 Add to basket Compare -
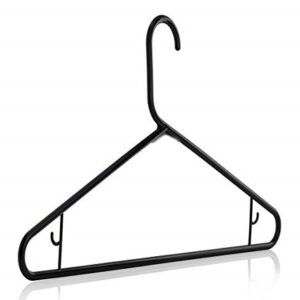
5-Pack Assorted Color Plastic Hangers – Mix and Match
£1.34 Add to basket Compare -
Platinum Shine & Go Deluxe Black Sponge 6ml – Cherry Blossom
£2.04 Add to basket Compare -
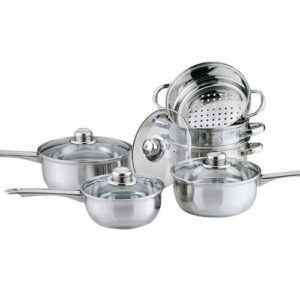
HIGHLANDS 18CM STEAMER AND 3-PIECE SAUCEPAN COLLECTION
£36.29 Add to basket Compare


Hanif (verified owner) –
Absolutely wonderful service and amazing products. The wholesaler’s attention to detail is what sets them apart from others. Will be buying again soon.
Michael (verified owner) –
I love the products I purchased! The wholesaler is reliable, and I always get my orders in perfect condition and on time.