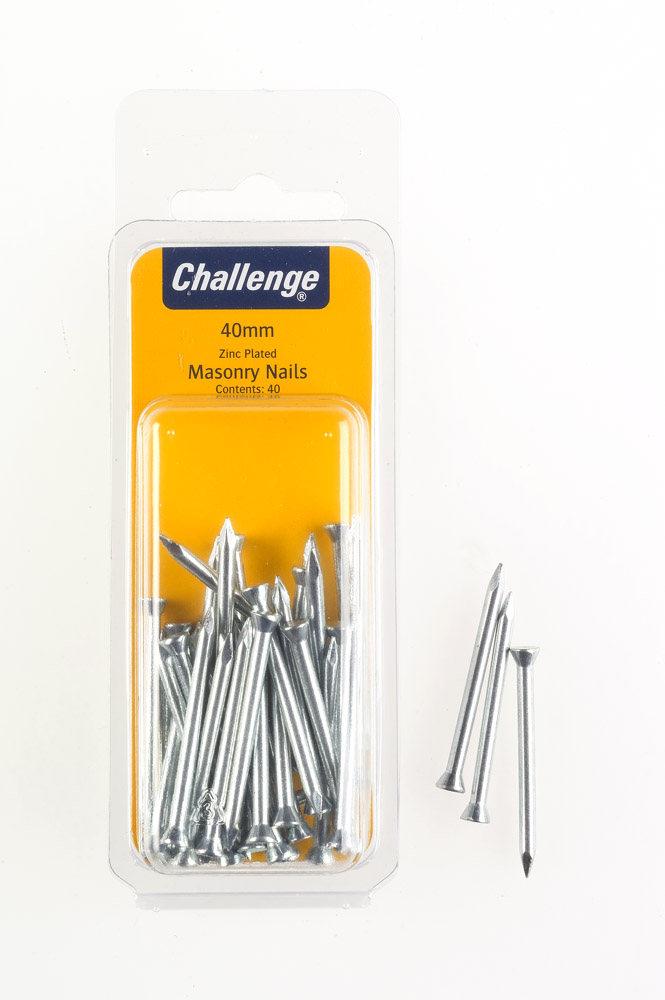
Challenge 40mm Zinc Plated Masonry Nails – Pack of 40
£1.31
Last updated on May 25, 2025 12:08 pm Details
Report Abuse

Description
How to Use Challenge Zinc Plated Masonry Nails 40mm 40/PK
Materials Needed
- Challenge Zinc Plated Masonry Nails 40mm
- Hammer
- Drill with masonry bit (optional)
- Protective eyewear
- Marker or pencil
Safety Precautions
- Wear protective eyewear to protect your eyes from debris.
- Ensure the surface you are working on is stable and secure.
Instructions
Step 1: Marking the Location
- Use a marker or pencil to mark the exact spot where you want to insert the masonry nail.
Step 2: Preparing the Surface
- For harder surfaces, consider using a drill with a masonry bit to create a pilot hole. This makes it easier to drive the nail and reduces the risk of cracking the surface.
Step 3: Inserting the Nail
- Position the nail on the marked spot or pilot hole.
- Hold the nail in place and gently tap it with the hammer to set it into the surface.
- Once the nail is set, continue to hammer it in until it’s secure and at the desired depth.
Step 4: Final Adjustments
- Ensure the nail is straight and flush with the surface.
- If necessary, make minor adjustments by gently tapping the nail in the desired direction.
Troubleshooting Tips
- If the nail bends, remove it and try again with a new nail.
- If the surface cracks, use a larger drill bit to create a bigger pilot hole.
3 reviews for Challenge 40mm Zinc Plated Masonry Nails – Pack of 40
Loading...
Vendor Information
- Store Name: Good Office Supplies
- Vendor: Good Office Supplies
- No ratings found yet!
Product Location
32 The Broadway, Ealing, Greenford, UB6 9PT, United Kingdom-

Tallon Full-Size Triplicate Book
£1.16 Add to basket -

Pack of 12 Men’s Wool Magic Gloves
£12.09 Add to basket -
ELLIOTT 11-INCH NATURAL COCONUT FIBER FSC HAND BRUSH
£1.31 Add to basket -
Photographic Collapsible Umbrella with Big Ben Design & Cover
£4.17 Add to basket -
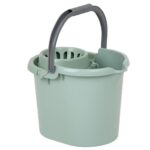
WHAM CASA 16L Silver Sage Mop Bucket
£4.53 Add to basket -
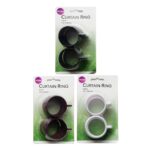
Set of 8 Adorn Shower Curtain Rings
£0.80 Add to basket


Sahil (verified owner) –
I’ve been buying from this wholesaler for a while now, and I’m always impressed with the products and the level of service they provide.
Farah (verified owner) –
I’ve been purchasing from this wholesaler for quite a while now, and every experience has been positive. The products are fantastic, and the service is always on point.
Azaan (verified owner) –
The quality of the products is exceptional. I’m always impressed with the speed of delivery, and the wholesaler’s customer service is excellent.