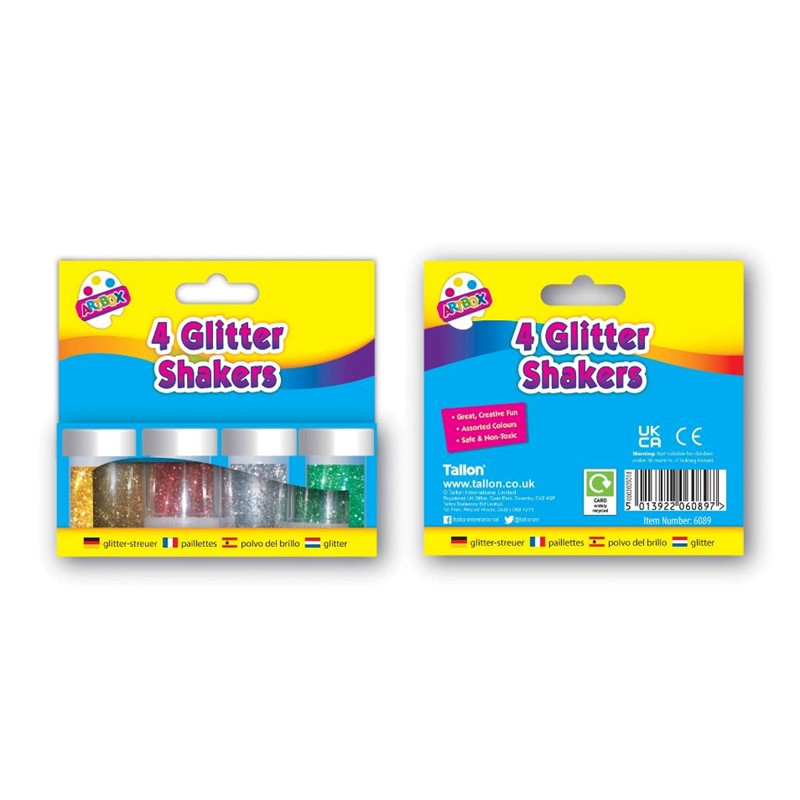
ARTBOX 8G Glitter Shakers, Pack of 4
£0.76
Last updated on August 24, 2025 4:23 am Details
Report Abuse

Description
How to Use ARTBOX Glitter Shakers
Materials Needed
- ARTBOX Glitter Shakers
- Adhesive (glue or glitter gel)
- Paintbrush or applicator (optional)
- Paper or surface for application
- Sealer (optional)
Step-by-Step Instructions
Step 1: Prepare Your Workspace
- Lay down newspaper or a protective sheet to catch excess glitter.
- Gather all materials needed for your project.
Step 2: Apply Adhesive
- Choose the area where you want the glitter to stick.
- Apply a thin layer of adhesive using a brush or applicator.
- Ensure the adhesive covers all areas where you want the glitter to adhere.
Step 3: Shake the Glitter
- Open the ARTBOX Glitter Shaker carefully.
- Hold the shaker over the adhesive area and gently shake to distribute the glitter evenly.
- Tap off any excess glitter onto the protective sheet.
Step 4: Finishing Touches
- Allow the adhesive to dry completely, securing the glitter in place.
- If desired, apply a sealer over the glitter to ensure it stays in place.
Additional Tips
- Mix different colors of glitter for a unique effect.
- Use a small funnel to return excess glitter to the container.
- Experiment with different adhesive patterns for creative designs.
3 reviews for ARTBOX 8G Glitter Shakers, Pack of 4
Loading...
Vendor Information
- Store Name: Good Office Supplies
- Vendor: Good Office Supplies
- No ratings found yet!
Product Location
32 The Broadway, Ealing, Greenford, UB6 9PT, United Kingdom-

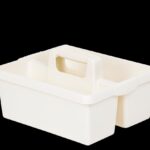
WHAM CASA SOFT CREAM KITCHEN ORGANIZER CADDY
£3.29 Add to basket -

PRIMA APPLE CUTTER WITH ALUMINIUM HANDLE & STAINLESS STEEL
£1.86 Add to basket -
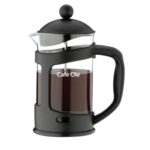
GRUNWERG CAFE OLE BLACK DAILY USE 6-CUP GLASS FRENCH PRESS, 800ML
£5.27 Add to basket -
Bath Mat 38x58cm, ,
£39.60 Add to basket -
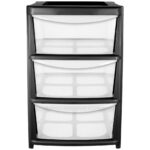
Black Mobile Storage Unit with Large Plastic 3-Drawer Tower
£13.63 Add to basket -
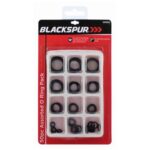
BLACKSPUR VARIETY PACK OF 50 O RINGS
£0.83 Add to basket


Bashar (verified owner) –
Amazing products! I’ve been buying from this wholesaler for months, and each time the delivery is prompt, and the quality is consistent. Keep up the great work!
Zahra (verified owner) –
I’ve been working with this wholesaler for a while now. They never fail to impress with their quality products and efficient service.
Nihlah (verified owner) –
This wholesaler never disappoints. I always receive exactly what I ordered, the quality is exceptional, and shipping is fast.