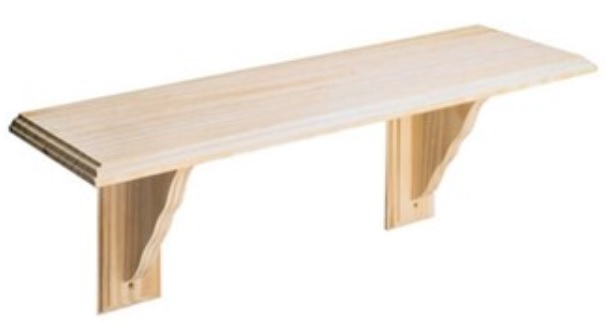
ANIKA Pine Wood Shelf Kit 19 x 89 cm
£7.25
Last updated on February 1, 2025 10:52 am Details
Report Abuse
Description
How to Use the ANIKA Pine Wooden Shelf Kit 19 x 89cm
1. Unpacking the Shelf Kit
- Carefully remove the shelf kit from its packaging.
- Ensure all components are present: the wooden shelf, wall brackets, screws, and any included tools.
2. Preparing for Installation
- Choose a suitable location on your wall for the shelf installation.
- Use a stud finder to locate wall studs for secure mounting.
- Gather necessary tools such as a drill, screwdriver, and level.
3. Installing the Wall Brackets
- Mark the desired height for the shelf on the wall using a pencil.
- Position the wall brackets at the marked height and mark the screw holes.
- Drill pilot holes into the wall at the marked positions.
- Secure the brackets to the wall using the provided screws.
- Ensure the brackets are level before tightening the screws completely.
4. Attaching the Shelf
- Place the wooden shelf onto the installed brackets.
- Ensure the shelf is centered and balanced on the brackets.
- Use any additional screws or fasteners provided to secure the shelf to the brackets, if applicable.
5. Final Adjustments and Safety Checks
- Check that all screws are tightened and the shelf is stable.
- Use a level to ensure the shelf is perfectly horizontal.
- Ensure the shelf is securely attached and can support the intended weight.
6. Enjoying Your New Shelf
- Place your desired items on the shelf, ensuring not to exceed the weight limit.
- Regularly check the shelf stability and adjust if necessary.
3 reviews for ANIKA Pine Wood Shelf Kit 19 x 89 cm
Loading...
Vendor Information
- Store Name: Good Office Supplies
- Vendor: Good Office Supplies
- No ratings found yet!
Product Location
32 The Broadway, Ealing, Greenford, UB6 9PT, United Kingdom-
Retractable Duster Cover
£1.38 Add to basket -
Set of 4 Napkin Rings with Blue Butterfly Design
£1.97 Add to basket -
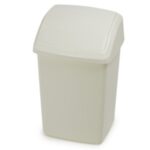
WHITEFURZE 30L CREAM SWING-TOP BIN
£6.59 Add to basket -
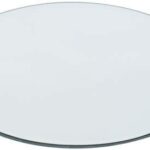
30CM Circular Glass Mirror Candle Plate Stand
£4.39 Add to basket -
DOFF Ant Killer Bait Station Pack of 2
£2.41 Add to basket -
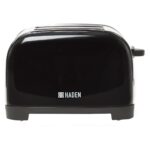
Haden Iver 2-Slice Black Toaster, 700W
£15.94 Add to basket






Ahmed (verified owner) –
The best wholesaler I’ve worked with. The products are of the highest quality, and they always deliver on time.
Junaid (verified owner) –
I’ve been buying from this wholesaler for a while now, and I’m always impressed with the products and the level of service they provide.
Faisal (verified owner) –
I’m a regular customer, and every time I order, I get exactly what I want. Quality products and top-notch service!