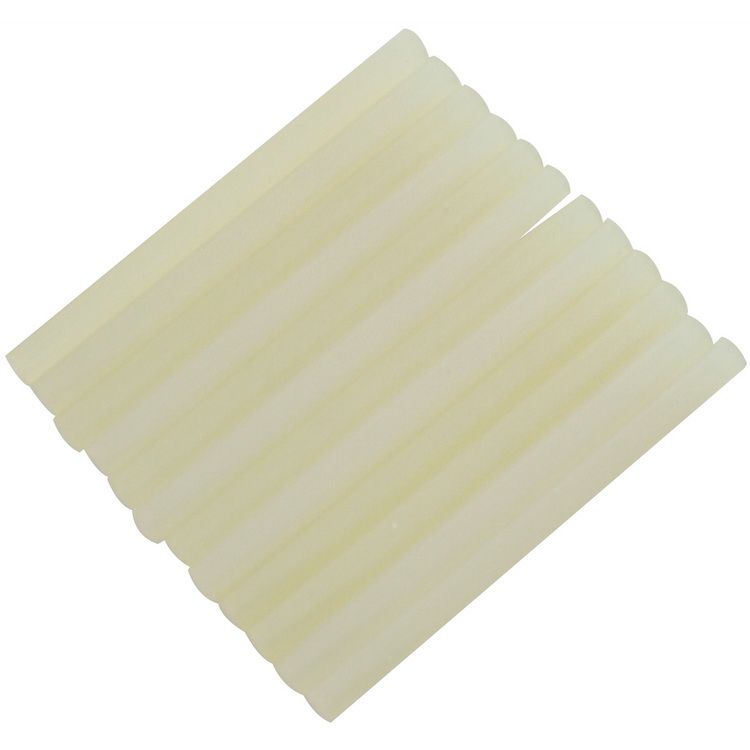
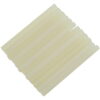
12-Piece AM-TECH Hot Melt Glue Gun Sticks, 7.5mm x 100mm
How to Use AM-TECH Glue Stick for Hot Melt Glue Guns
Step 1: Prepare Your Work Area
- Ensure you have a clean, flat surface to work on.
- Gather all materials you plan to glue.
- Have a power outlet nearby for plugging in the glue gun.
Step 2: Insert the Glue Stick
- Unpack the AM-TECH glue sticks.
- Take one glue stick and insert it into the back of your hot melt glue gun.
- Make sure it is inserted until it feels secure.
Step 3: Heat the Glue Gun
- Plug the glue gun into a power outlet.
- Turn on the glue gun if it has a power switch.
- Allow the glue gun to heat up for about 5 minutes or until the glue starts to melt.
Step 4: Apply the Glue
- Gently squeeze the trigger of the glue gun to release the melted glue.
- Apply the glue onto the surface you want to bond.
- Quickly join the surfaces together while the glue is still hot.
Step 5: Let the Glue Set
- Hold the bonded surfaces together for a few seconds to ensure a strong bond.
- Allow the glue to cool and set completely before handling the item.
Step 6: Safety and Storage
- Unplug the glue gun once you have finished using it.
- Allow the glue gun to cool before storing it away.
- Store remaining glue sticks in a cool, dry place.
5 Reviews For This Product
Loading...






by Liyana (verified owner)
Highly satisfied with the products I ordered. The wholesaler always provides great quality and reliable service. I will continue buying here.
by Samuel (verified owner)
A great place to shop! The products were fantastic, and the wholesaler’s service was impeccable. I’m happy with my purchase.
by Benjamin (verified owner)
I’ve been purchasing from this wholesaler for months, and I’ve never been disappointed. The products are fantastic, and delivery is always quick.
by Wahid (verified owner)
I highly recommend this wholesaler! The quality of their products is excellent, and they always deliver on time. I’ve never been disappointed.
by Ibadat (verified owner)
This wholesaler has earned my trust. The product quality is unbeatable, and they have the best customer service I’ve ever experienced. Highly recommended!