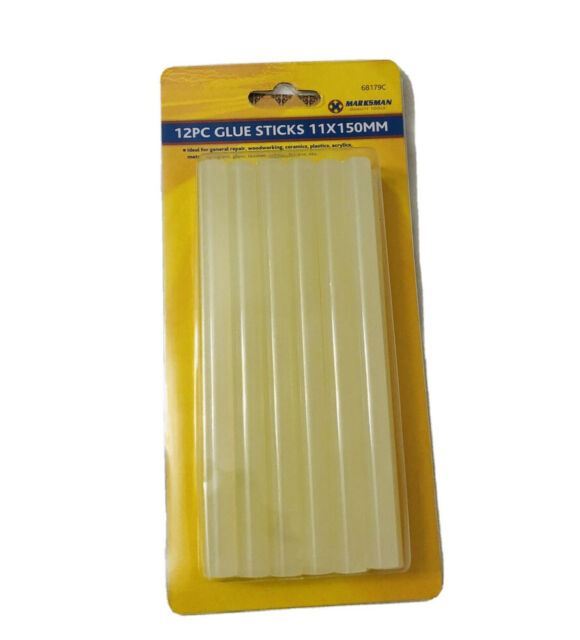
12-Pack Hot Melt Adhesive Glue Sticks – 11 x 150mm for Glue Guns
£1.20
Last updated on February 9, 2025 4:06 am Details
Report Abuse

Description
How to Use Glue Sticks with a Hot Melt Adhesive Gun
Materials Needed
- Glue Sticks (11 x 150mm)
- Hot Melt Adhesive Gun
- Power Source
- Protective Surface (e.g., a cardboard or non-stick mat)
Step-by-Step Instructions
Step 1: Prepare Your Workspace
- Choose a well-ventilated area for working.
- Place a protective surface under the area you will be working on to catch any excess glue.
Step 2: Insert the Glue Stick
- Ensure the glue gun is unplugged and cool before handling.
- Insert a glue stick into the rear of the glue gun.
- Push the glue stick in until it stops; it’s ready to be melted.
Step 3: Heat the Glue Gun
- Plug the glue gun into a power source.
- Allow the glue gun to heat up for about 5-7 minutes or until it reaches operating temperature.
- Be cautious as the nozzle will become very hot.
Step 4: Apply the Glue
- Gently squeeze the trigger to release the melted glue through the nozzle.
- Apply the glue to the surfaces you wish to bond.
- Work quickly, as the glue will begin to set within seconds.
Step 5: Secure the Bond
- Press the glued surfaces together firmly.
- Hold in place for a few seconds to ensure a strong bond.
Step 6: Finish and Clean Up
- Unplug the glue gun and allow it to cool down before storing.
- Trim any excess glue strings with scissors if necessary.
Safety Tips
- Always use caution when handling the hot glue gun and melted glue.
- Keep out of reach of children and pets.
- Do not touch the nozzle or melted glue directly to avoid burns.
3 reviews for 12-Pack Hot Melt Adhesive Glue Sticks – 11 x 150mm for Glue Guns
Loading...
Vendor Information
- Store Name: Good Office Supplies
- Vendor: Good Office Supplies
- No ratings found yet!
Product Location
32 The Broadway, Ealing, Greenford, UB6 9PT, United Kingdom-

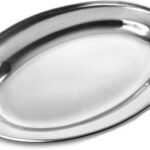
45cm Oval Serving Tray in Stainless Steel
£3.15 Add to basket -

Coloring Activity Book for Learning Times Tables
£1.31 Add to basket -
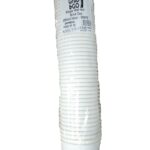
White Kraft Ripple Wall Hot Drink Cups, 50-Pack (296ml / 10oz)
£1.97 Add to basket -
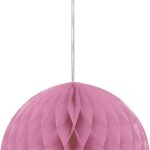
Distinctive Hot Pink Tissue Paper Honeycomb Pom Pom – 8 Inch / 20cm
£1.09 Add to basket -
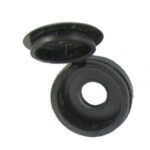
FAST PAK VALUE 3059 BLACK FOLD-OVER CAPS, PACK OF 30
£0.65 Read more -
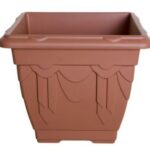
Terracotta Square Venetian Planter by Whitefurze, 22cm
£1.25 Add to basket

Mukhtar (verified owner) –
I’m a regular customer, and every time I order, I get exactly what I want. Quality products and top-notch service!
William (verified owner) –
I can’t say enough about this wholesaler. The quality of the products is unbeatable, and their customer service team is always there to assist.
Liyana (verified owner) –
Excellent service! I’ve never had an issue with any of my orders. The products are always high quality, and the wholesaler’s team is always helpful.