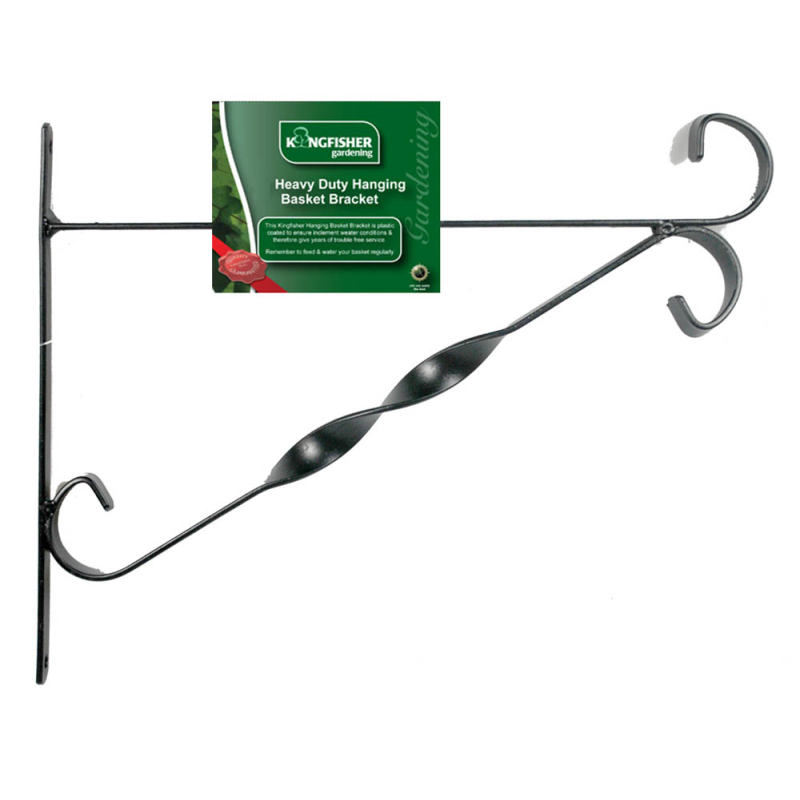
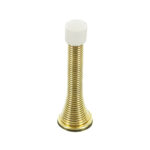
12-Inch Bracket for Hanging Baskets
£1.86
Last updated on February 4, 2025 2:32 am Details
Report Abuse

Description
How to Use the 12 Inch Hanging Basket Bracket
Step 1: Gather Your Tools and Materials
- 12 Inch Hanging Basket Bracket
- Screws (typically included with the bracket)
- Drill or screwdriver
- Wall anchors (if mounting on drywall or another soft surface)
- Level
- Pencil
Step 2: Choose the Location
- Select a wall or surface that can support the weight of the basket and its contents.
- Ensure the location receives the appropriate amount of sunlight for the plants you intend to hang.
Step 3: Mark the Mounting Points
- Hold the bracket against the wall at the desired height.
- Use a level to ensure it is straight.
- Mark the positions of the screw holes with a pencil.
Step 4: Install the Wall Anchors (if needed)
- If mounting on drywall or a similar surface, drill holes at the marked points.
- Insert wall anchors into the drilled holes.
Step 5: Attach the Bracket
- Align the bracket with the anchors or marked points.
- Insert screws through the bracket holes and into the wall or anchors.
- Tighten the screws using a drill or screwdriver until the bracket is secure.
Step 6: Hang Your Basket
- Place the hanging basket on the bracket hook.
- Ensure it is stable and securely attached.
Step 7: Maintenance Tips
- Regularly check the bracket and screws for any signs of wear or looseness.
- Tighten screws if necessary to maintain stability.
By following these steps, you can successfully install and use your 12 Inch Hanging Basket Bracket to display beautiful hanging arrangements.
2 reviews for 12-Inch Bracket for Hanging Baskets
Loading...
Vendor Information
- Store Name: Good Office Supplies
- Vendor: Good Office Supplies
- No ratings found yet!
Product Location
32 The Broadway, Ealing, Greenford, UB6 9PT, United Kingdom-

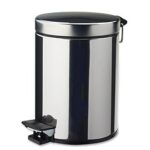
BAGNO 5L Stainless Steel Pedal Trash Bin
£9.12 Add to basket -
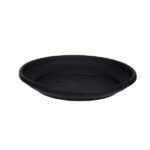
Whitefurze Black Venetian Saucer Planter, 43cm
£1.97 Add to basket -
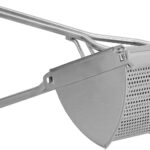
Taylors Eye Witness Professional Soft Grip Stainless Steel Potato Ricer and Masher
£14.29 Add to basket -
Securit S2571 75mm Brass-Plated Spring Door Stop
£0.67 Read more -
Colorful Jaunty Partware Paper Straws – Pack of 30
£0.43 Add to basket -
Royal Blue 8 Inch/20cm Tissue Paper Honeycomb Pom Poms for Unique Parties
£1.09 Read more


Farah (verified owner) –
I’m a regular customer, and this wholesaler continues to provide great service and top-quality products. Their fast shipping is a huge bonus.
Trevor (verified owner) –
The quality of the products is exceptional. I’ve never been let down, and the wholesaler’s customer service is always available to assist with any concerns.