
Description
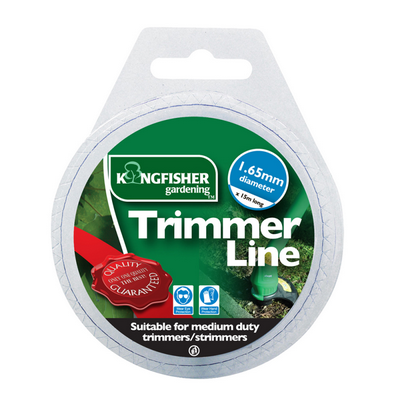
How to Use the 1.65mm Trimmer Line
Step 1: Safety First
- Ensure you are wearing appropriate safety gear, including eye protection and gloves.
- Make sure the trimmer is turned off and unplugged before beginning any maintenance or setup.
Step 2: Remove the Trimmer Head
- Locate the trimmer head on your device.
- Follow the manufacturer’s instructions to remove the trimmer head cap. This usually involves pressing tabs or unscrewing the cap.
Step 3: Prepare the Trimmer Line
- Cut a length of the 1.65mm trimmer line as recommended by your trimmer’s manual (typically between 10 to 15 feet).
- Fold the line in half to find the center point.
Step 4: Wind the Trimmer Line
- Insert the center of the line into the notch or hole on the spool.
- Wind the line evenly and tightly around the spool in the direction indicated by the arrow on the spool.
- Leave about 6 inches of line on each end.
Step 5: Reassemble the Trimmer Head
- Place the spool back into the trimmer head.
- Thread the loose ends of the line through the eyelets or holes in the trimmer head.
- Secure the trimmer head cap as per the manufacturer’s instructions.
Step 6: Test the Trimmer
- Plug in or power on your trimmer.
- Test the trimmer in a safe area to ensure the line feeds properly.
Step 7: Trimming Tips
- Keep the trimmer at a consistent height for an even cut.
- Move the trimmer in a steady motion to avoid patchy areas.
Always refer to your trimmer’s manual for specific instructions and safety precautions.
3 reviews for 1.65mm Trimmer Cord
Loading...
Vendor Information
- Store Name: Good Office Supplies
- Vendor: Good Office Supplies
- No ratings found yet!
Product Location
32 The Broadway, Ealing, Greenford, UB6 9PT, United Kingdom-

SUNCLUB 59-INCH SWIMMING POOL WITH RIGID SIDES AND SEAWORLD DESIGN
£7.14 Add to basket -
FAST PAK VALUE 0188 12 X 4” POZI CSK HARDENED TWINTHREAD ZINC WOODSCREWS, PACK OF 6
£0.65 Add to basket -
PLAY-DOH DOHVINCI ART STUDIO EASEL AND STORAGE CASE KIT A7198
£11.86 Add to basket -
Bettina Multipurpose Cloth, Pack of 8
£0.94 Add to basket -
PUKKA A4 Executive Refill Pad, 100 White Pages
£1.27 Add to basket -
Set of 10 Red 40 x 90 mm Pillar Candles
£6.81 Add to basket


Ayaan (verified owner) –
Amazing product quality and prompt shipping. The wholesaler makes shopping so easy and convenient. I’m a loyal customer for life!
Kevin (verified owner) –
The quality of their products is unmatched. I’ve purchased from several wholesalers, but none of them come close to the level of service and quality offered here.
Aidah (verified owner) –
Super fast delivery and excellent product quality. I’m very happy with this wholesaler’s service and will keep coming back for future orders.