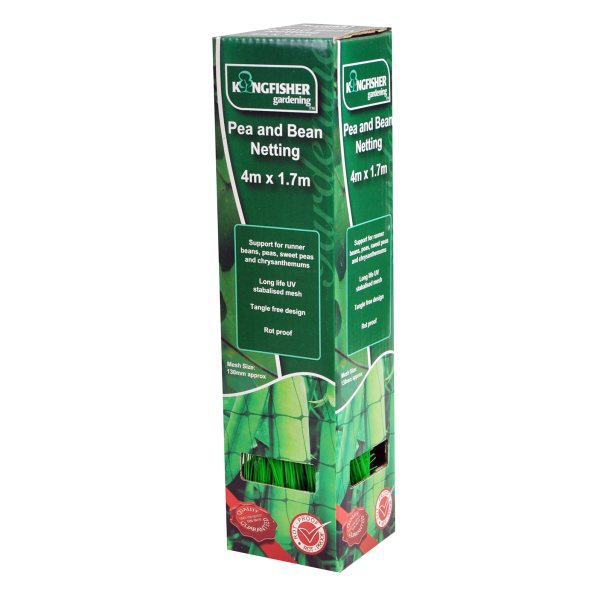
4 x 1.7 Meter Netting for Peas and Beans
£1.60
Last updated on January 5, 2025 6:41 pm Details
Report Abuse

Description
How to Use Pea and Bean Netting 4 x 1.7m
Materials Needed
- Pea and Bean Netting 4 x 1.7m
- Support poles or stakes
- String or garden ties
- Scissors
Step-by-Step Instructions
Step 1: Prepare the Area
- Choose a suitable location for your pea and bean plants with ample sunlight.
- Clear the area of weeds and debris.
Step 2: Install Support Poles
- Insert support poles or stakes into the ground at regular intervals along the row where you plan to plant.
- Ensure the poles are stable and tall enough to support the height of the netting.
Step 3: Attach the Netting
- Unroll the pea and bean netting to the desired length.
- Secure one end of the netting to a support pole using string or garden ties.
- Stretch the netting across the poles and attach it securely at each pole.
- Ensure the netting is taut but not overly tight to allow for plant growth.
Step 4: Plant Your Seeds
- Plant your pea and bean seeds according to the package instructions, ensuring they are close enough to the netting to climb as they grow.
Step 5: Monitor and Maintain
- Regularly check the netting for any damage or sagging and adjust as necessary.
- Guide the growing plants to climb the netting if needed.
Tips for Best Results
- Ensure the netting is installed before the plants begin to climb.
- Regularly water and fertilize your plants for optimal growth.
- Prune any excess growth to prevent overcrowding on the netting.
3 reviews for 4 x 1.7 Meter Netting for Peas and Beans
Loading...
Vendor Information
- Store Name: Good Office Supplies
- Vendor: Good Office Supplies
- No ratings found yet!
Product Location
32 The Broadway, Ealing, Greenford, UB6 9PT, United Kingdom-

COUNTY 38CM X 10M GREASEPROOF PAPER ROLL
£1.20 Add to basket -
Chrome Finished Towel Rack
£1.05 Add to basket -

SECURIT S6467 White Oval Removable Hook, 30x50mm
£1.09 Add to basket -
Set of 10 Cream Place Cards with Gold Lettering for Weddings
£1.20 Read more -
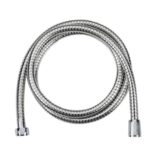
BLUE CANYON MARINO 1.5M STAINLESS STEEL SHOWER HOSE
£4.28 Add to basket -
24CM Potted Artificial Lavender Flower on Single Stem
£2.74 Add to basket


Felix (verified owner) –
I’m so happy with my purchase! The product quality exceeded my expectations, and the customer support from the wholesaler was fantastic!
Yusuf (verified owner) –
I’ve found my go-to wholesaler! The products are amazing, and they always ship quickly. Excellent customer service too!
Tahani (verified owner) –
I am always pleased with the quality of the products I receive. This wholesaler has consistently provided great service and fast delivery.