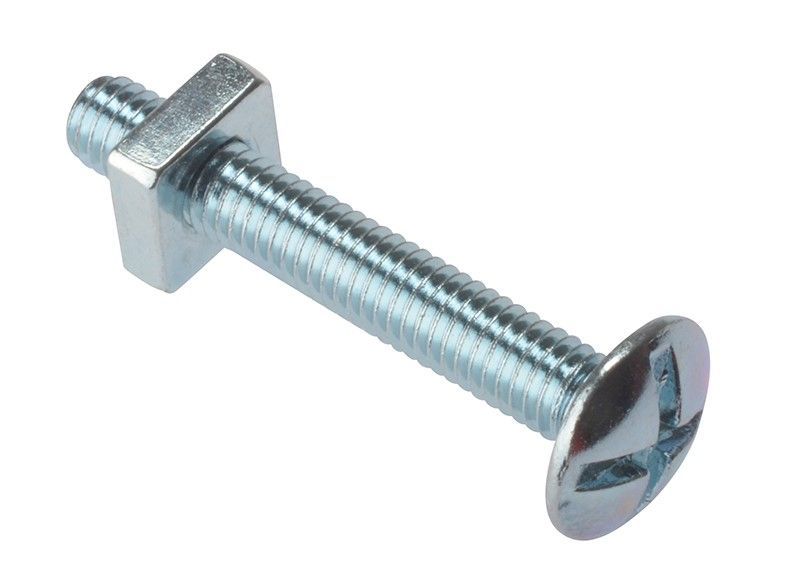
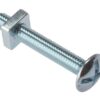
STAR PACK of 5 Roofing Bolts & Nuts M6 x 40mm
How to Use STAR PACK 5 Roofing Bolt & Nut M6 X 40mm
Materials Needed
- STAR PACK 5 Roofing Bolt & Nut M6 X 40mm
- Drill
- Appropriate drill bit
- Wrench or spanner
- Safety gear (gloves, goggles)
Step-by-Step Instructions
Step 1: Safety First
- Put on your safety gloves and goggles to protect yourself while working.
Step 2: Prepare the Surface
- Ensure the surface where you will install the roofing bolt is clean and dry.
- Select the appropriate drill bit for the pilot hole based on the material you are working with.
Step 3: Drill the Pilot Hole
- Use the drill to create a pilot hole in the material where the bolt will be installed.
- The hole should be slightly smaller than the diameter of the bolt for a snug fit.
Step 4: Insert the Bolt
- Place the STAR PACK 5 roofing bolt into the drilled hole.
- Ensure the bolt is inserted straight and fits tightly in the hole.
Step 5: Secure with the Nut
- Place the nut onto the threaded end of the bolt.
- Hand-tighten the nut until it is flush with the surface.
- Use a wrench or spanner to securely tighten the nut, ensuring the bolt is firmly in place.
Step 6: Inspect the Installation
- Check to ensure the bolt and nut are secure and there is no movement.
- Inspect for any misalignments or gaps that need adjustment.
Tips for Best Results
- Always double-check measurements and ensure the bolt size is appropriate for your project.
- Regularly inspect the installation over time to ensure it remains secure.
Loading...








Reviews
There are no reviews yet.